
ESP32 - NTC Thermistor Temperature Sensor
This tutorial instructs you how to use ESP32 to read the temperature value from a 10K NTC thermistor (B value 3950), and print it to the Serial Monitor in Celsius and Fahrenheit. The thermistor hides in a small steel tube on a thin black cable, so it can go where an ESP32 board cannot: into water, into soil, or behind a fridge door. There is no chip inside it, and you do not install any library. The ESP32 measures a voltage on GPIO36, finds the probe's resistance from it, and changes that number into degrees.
This tutorial shows how to program the ESP32 using the Arduino language (C/C++) via the Arduino IDE. If you’d like to learn how to program the ESP32 with MicroPython, visit this ESP32 MicroPython - NTC Thermistor Temperature Sensor tutorial.
Hardware Used In This Tutorial
Or you can buy the following kits:
| 1 | × | DIYables ESP32 Starter Kit (ESP32 included) | |
| 1 | × | DIYables ESP32 S3 Starter Kit (ESP32 S3 included) | |
| 1 | × | DIYables Sensor Kit (18 sensors/displays) |
There is no separate resistor to order: every probe in the DIYables five-pack comes with a matching 10K resistor.
Introduction to the NTC Thermistor Temperature Sensor
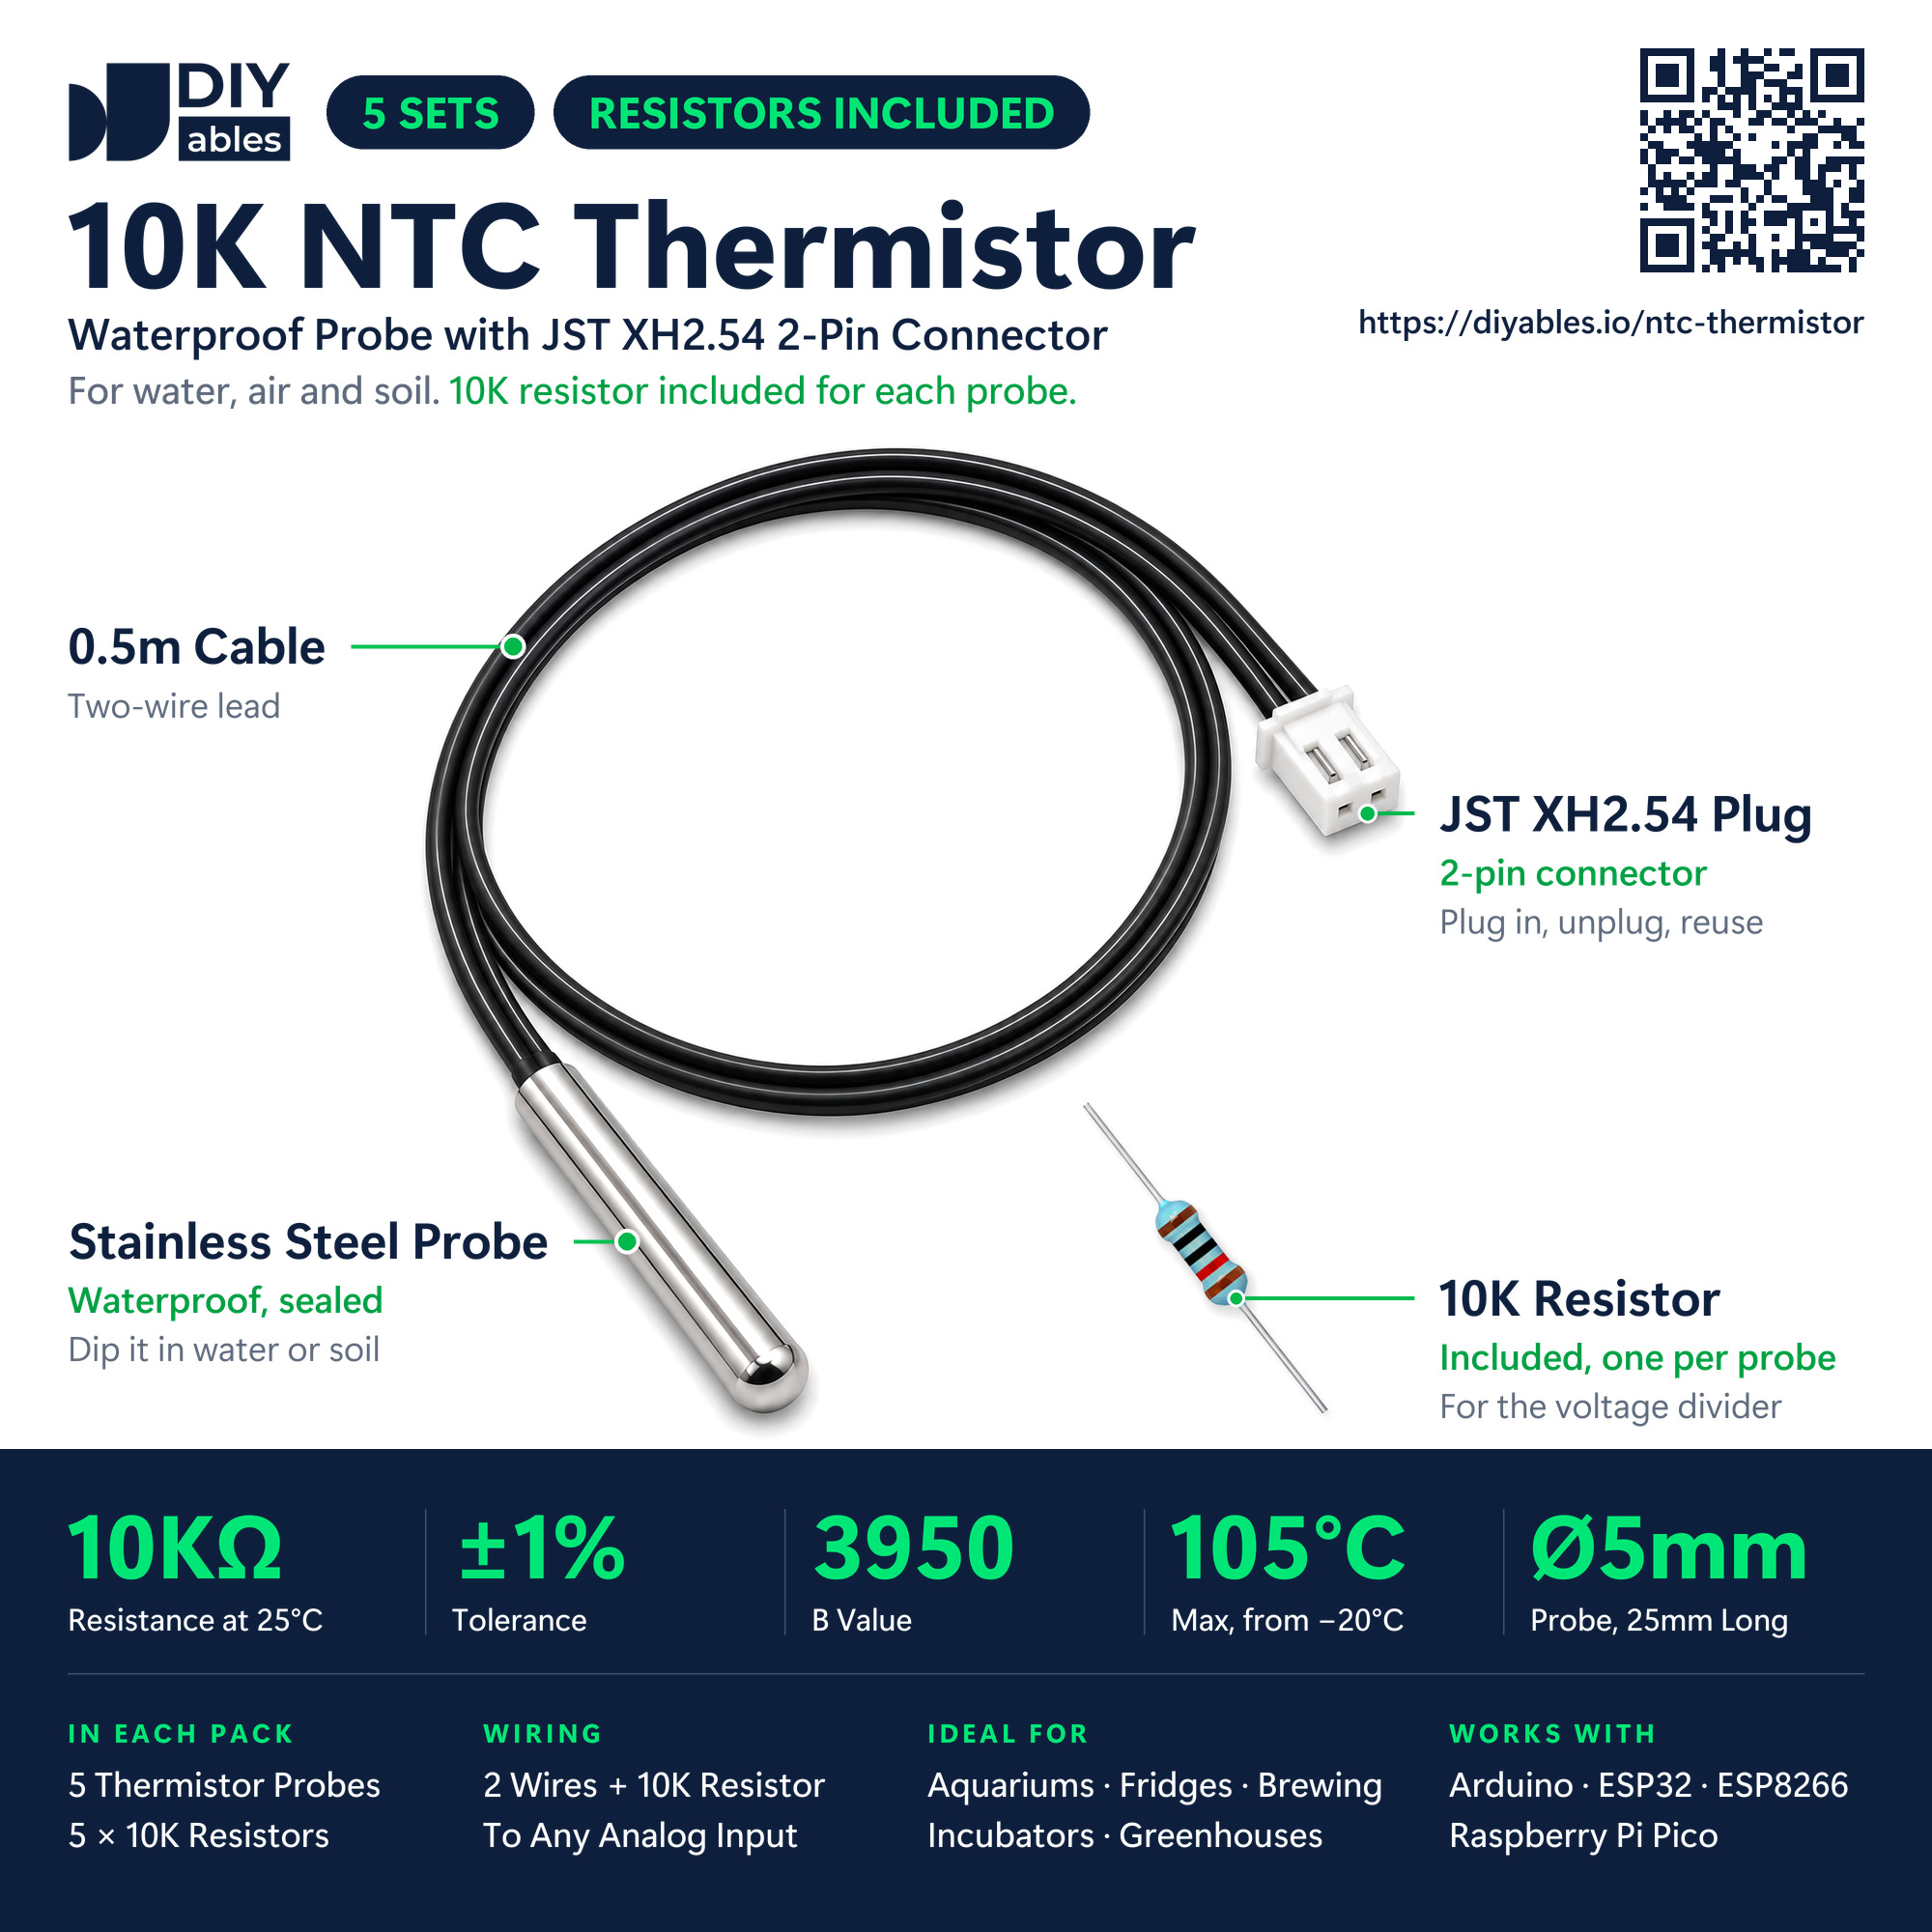
Inside the round end of a stainless-steel tube sits one small part: a thermistor. It is a kind of resistor, but its value moves a lot with heat. The ESP32 measures this value and converts it to degrees. The probe is an NTC type (the letters mean Negative Temperature Coefficient). Simply put: more heat, fewer ohms. The tube is sealed, so water cannot get in. Its black two-wire cable is 0.5m long and ends in a white plug. There is no module board here: the pins of two male jumper wires slide straight into the plug.
| 10K NTC Thermistor Probe | |
|---|---|
| The resistance at 25°C | 10kΩ, ±1% |
| The B value | 3950 |
| The temperature range | -20°C to 105°C |
| The tip | 5mm x 25mm stainless steel, round, waterproof |
| The cable | 0.5m long, two black wires |
| The plug | white, 2-hole JST XH2.54 (2.54mm pitch) |
| The dissipation constant | about 5mW/°C |
| The pack | 5 sets (probe + 10K resistor) |
The dissipation constant tells how much the probe warms itself with the current that flows through it. In this circuit, the probe never gets more than about 0.3mW, so it warms itself by less than 0.1°C. You will never see it in the readings.
NTC Thermistor Probe Pinout
Nothing is printed on the two wires or on the plug, because both sides are the same:
- Pin 1 of the plug: connect this pin to 3V3 on the ESP32.
- Pin 2 of the plug: connect this pin to GPIO36 on the ESP32. The 10K resistor also joins here.
- The resistor's other leg: connect this pin to GND (0V).
A thermistor has no polarity, just like any other resistor. If you swap pin 1 and pin 2, the reading stays the same.
From resistance to temperature
The ESP32 cannot measure ohms. It can only measure volts. So the code needs a helper: the 10K resistor. The probe sits on top, between 3V3 and GPIO36, and the resistor sits below, between GPIO36 and GND. The two parts share the 3.3V like two people share a cake: the part with more ohms takes the bigger piece. GPIO36 measures the piece of the resistor. As the probe heats up and loses ohms, the piece of the resistor grows, and the voltage on GPIO36 rises. This kind of circuit is called a voltage divider. Some points of the curve:
| Probe Temperature | Probe Resistance | Voltage on GPIO36 |
|---|---|---|
| 5°C, inside a fridge | 25.9kΩ | 0.92V |
| 20°C, a cool room | 12.5kΩ | 1.46V |
| 33°C, inside a closed hand | 7.1kΩ | 1.93V |
| 60°C, hot tap water | 2.5kΩ | 2.64V |
| 100°C, boiling water | 0.7kΩ | 3.09V |
The code works backwards in two steps. First, it finds the probe resistance from the millivolts on GPIO36:
R = 10000 × (3300 − mV) / mV
Then the B (beta) formula turns the resistance into a temperature:
1/T = 1/T0 + (1/B) × ln(R/R0)
Here T0 = 298.15K, which is 25°C; R0 = 10000Ω; B = 3950. The answer is in kelvin: subtract 273.15 and you have °C. Other thermistor projects often show the Steinhart-Hart equation. It needs three constants, not one, and it is slightly more precise. For this probe, the one-constant B formula is fine. Between 20°C and 30°C, expect the reading to be typically within about 1°C. Most of the small error that is left comes from the ESP32 ADC and from the exact value of the 10K resistor.
Good places for this probe: an aquarium, a fermenting bucket, an egg incubator, a greenhouse bed, or the side of a battery pack or a hot water pipe. Prefer a probe that hands over a finished number in °C? The waterproof DS18B20 is digital and needs no formula: see ESP32 - Temperature Sensor. Measuring an oven or a pizza stone, far above 105°C? Pick a thermocouple: see ESP32 - MAX6675 Thermocouple Module.
Wiring Diagram
Only three pins of the ESP32 are used: 3V3, GPIO36 and GND. The 10K resistor joins the GPIO36 wire to the GND wire.
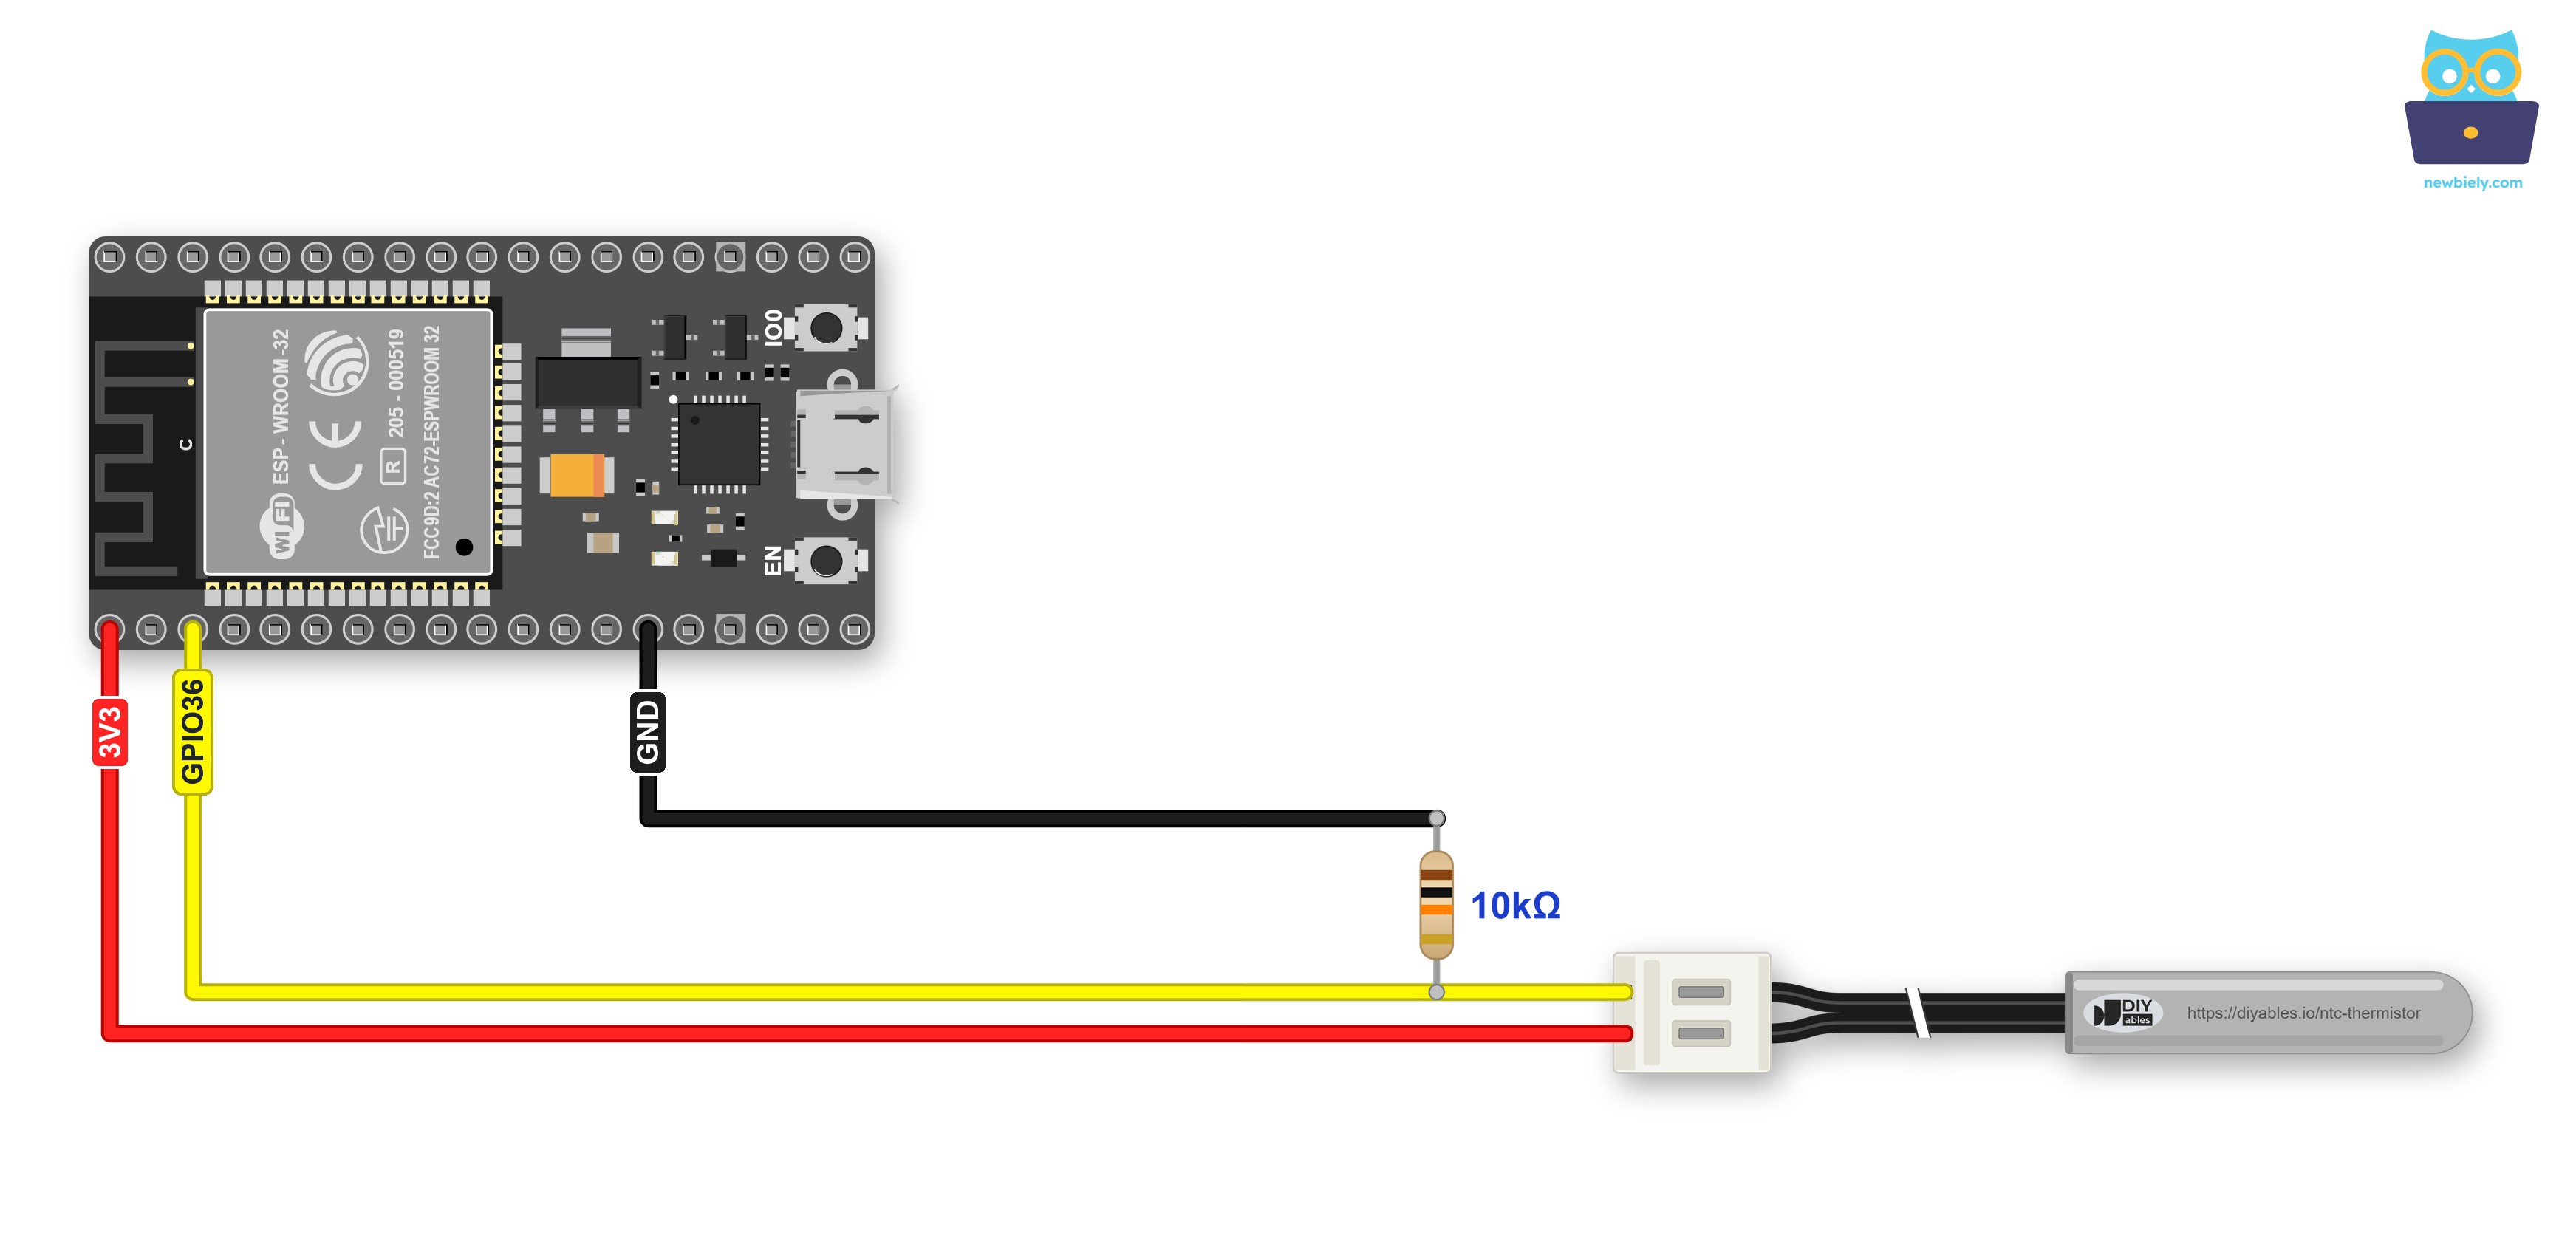
This image is created using Fritzing. Click to enlarge image
| NTC Thermistor Probe | ESP32 |
|---|---|
| One probe wire (any of the two) | → 3V3 |
| Other probe wire | → GPIO36 (VP) |
| 10K resistor, leg A | → GPIO36 (VP) |
| 10K resistor, leg B | → GND |
In the diagram, the resistor legs touch the wires directly. On a real desk, use a small breadboard for this joint: push the resistor into it, then plug the GPIO36 wire and the GND wire into the rows of its two legs. Without a breadboard, solder each resistor leg to the stripped tip of the matching wire, and cover the joint with tape or heat-shrink tube.
Why GPIO36? It is an ADC1 pin. The ESP32 cannot use its ADC2 pins while WiFi is on, so an ADC1 pin keeps your thermometer working when you later share the temperature over WiFi. GPIO36 can only be an input, and that is fine here, because the code only reads it. On many boards, it is printed as VP or SVP.
WARNING
Power the probe from 3V3 only, never from 5V (VIN). A warm probe has few ohms, so GPIO36 rises toward the supply voltage. On 5V, the pin would see more than 3.3V once the probe goes above about 41°C, and that can damage the ESP32. The math in the code also counts on a 3300 mV supply.
If you're unfamiliar with how to supply power to the ESP32 and other components, you can find guidance in the following tutorial: The best way to Power ESP32 and sensors/displays.
How To Program For NTC Thermistor
No library is needed. The ESP32 core for Arduino IDE already has the functions we use.
- Let GPIO36 measure the whole voltage range of the divider, up to about 3.1V. This line goes in setup():
- Read the pin many times in millivolts and average the results, because one thermistor reading alone can jump a little:
- Find the resistance of the probe in ohms:
- Apply the B formula. It gives kelvin, and two more lines change it to °C and °F. Note: log() in Arduino code means ln (base e), not log10:
Why analogReadMilliVolts() and not analogRead()? No two ESP32 chips have exactly the same ADC: two boards can give two different raw numbers for the same voltage. Espressif tests every chip in the factory and writes its own correction values into the chip's eFuse memory. analogReadMilliVolts() uses these values and gives you the voltage directly. The raw scale has a second problem: its steps are not equal in size at the bottom and at the top of the scale, and the last number, 4095, comes at around 3.1V, not at 3.3V. So dividing the raw number by 4095 can shift the temperature by a few degrees.
The code takes the 3V3 pin as exactly 3300 mV. Most boards are within a few percent of that. If you have a multimeter, measure between 3V3 and GND, and put that number, for example 3285, in the SUPPLY_MV line. Your readings will be a little more exact.
ESP32 Code - NTC Thermistor Temperature Sensor
About once a second, the code below prints one line with four values: °C, °F, the probe's ohms and the millivolts on GPIO36. Two checks come before the math. If GPIO36 is under 150 mV, the probe would be colder than -30°C, which is outside its range, so the code says that the probe is unplugged. If the resistance is under 600Ω, the probe would be hotter than 105°C, so the code says that the wires touch. In both cases, you get a hint instead of a wrong temperature.
Quick Instructions
- If this is the first time you use ESP32, see how to setup environment for ESP32 on Arduino IDE.
- Do the wiring as in the diagram above: the probe between 3V3 and GPIO36, the 10K resistor between GPIO36 and GND.
- Connect the ESP32 to your PC with the USB cable.
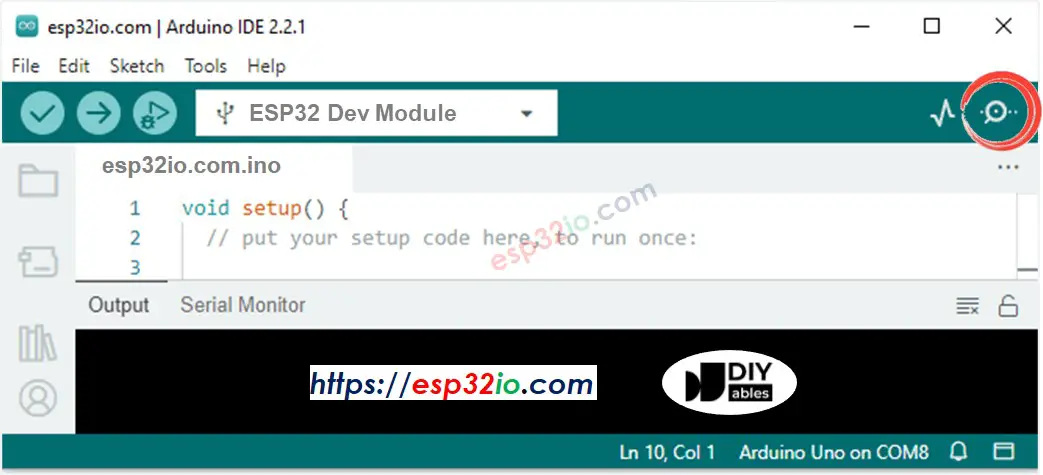
- Open Arduino IDE. Pick the ESP32 board (e.g. ESP32 Dev Module) and the COM port of your board.
- Copy the code and paste it into a new sketch in Arduino IDE.
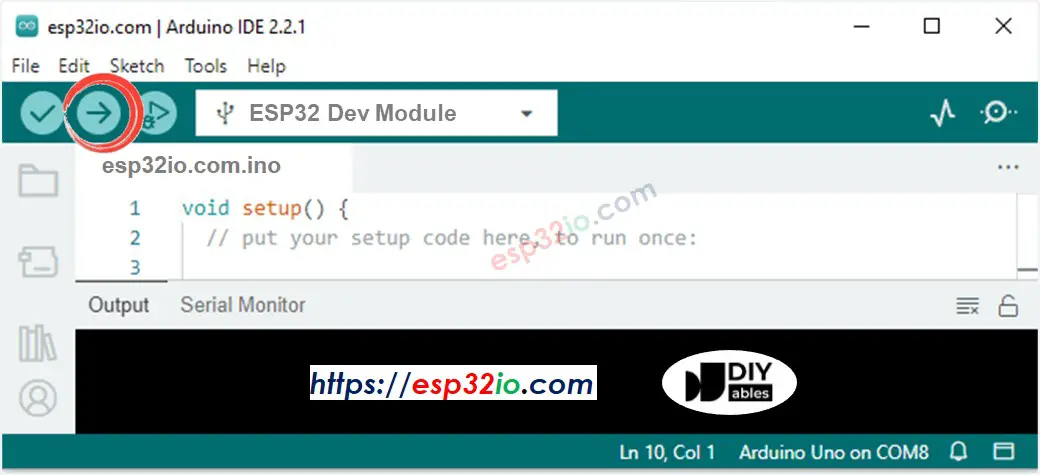
- Click to the Upload button on Arduino IDE to compile the code and upload it to the ESP32.
- Open the Serial Monitor, with the baud rate at 9600.
- Keep the probe still on the table while the first three lines appear. Then hold the steel tip tightly in your closed hand. After about ten seconds, open your hand again.
Lines 1 to 3 show a cool room at about 20°C. Then the hand closes around the steel tip: the millivolts rise, the ohms drop, and the temperature climbs for several seconds, since the heat needs time to pass through the steel. Why does it stop near 32°C and not at 37°C? 37°C is the temperature deep inside the body, but the skin of the hand is cooler, usually between 30°C and 34°C. The last line comes just after the hand opens: in the air, the tip cools down slowly. So after each change, wait until the numbers stop moving.
※ NOTE THAT:
- The steel tip is the only waterproof part. Hang the plug and the resistor joint over the edge of the tank or glass, out of the water.
- A thermistor does not mind a long cable, so you can add extra wire to reach a tank or a freezer. Run long wires away from motors and mains cables, because they can disturb the reading.
What next? Switch a fan with a relay when a home-brew bucket gets warmer than 24°C, or sound a piezo buzzer when an egg incubator falls below 37°C.
Line-by-line Code Explanation
The ESP32 code above has comments on its important lines. Please read the comments in the code!
Video Tutorial
Making video is a time-consuming work. If the video tutorial is necessary for your learning, please let us know by subscribing to our YouTube channel , If the demand for video is high, we will make the video tutorial.