ESP32 - Web Server on SD Card
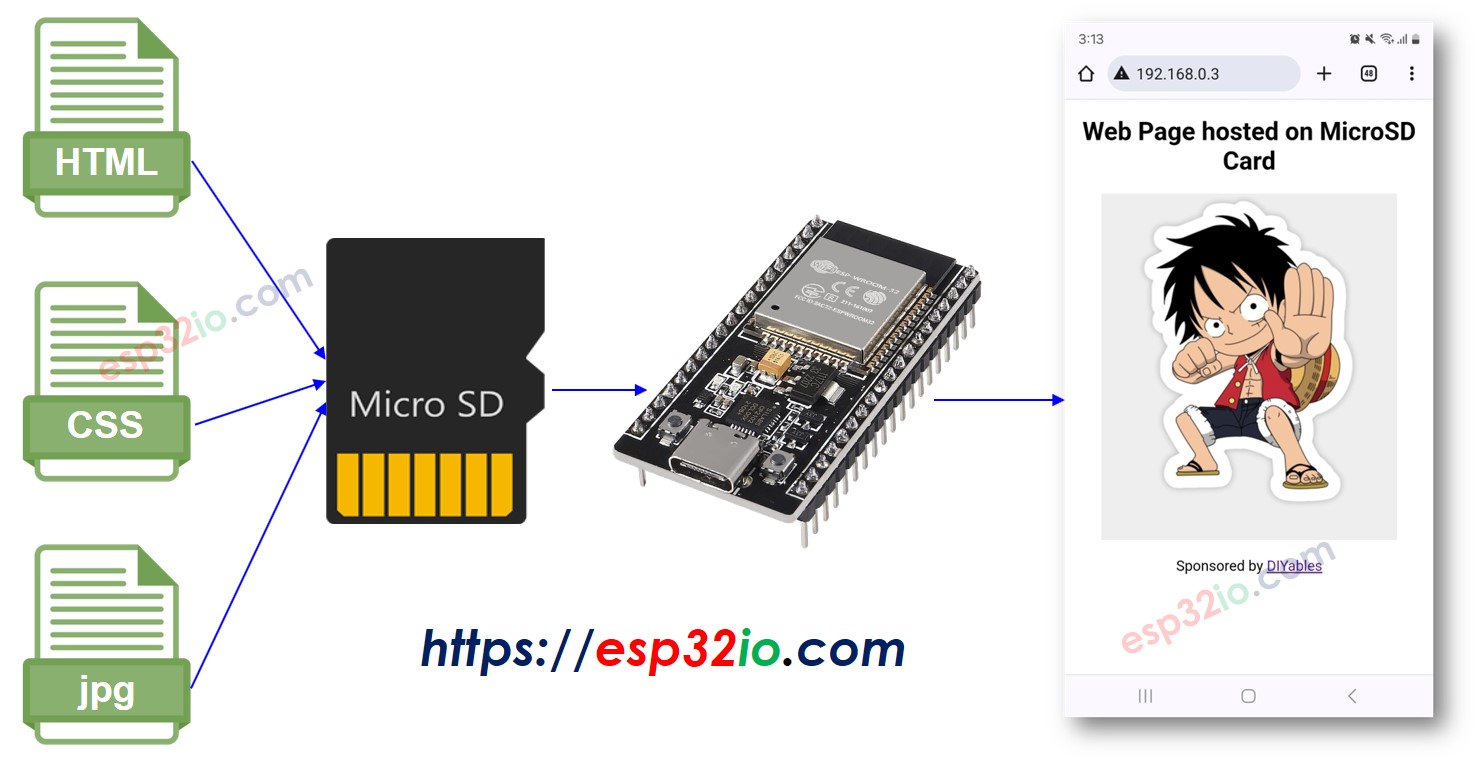
In this tutorial, we'll find out how to make ESP32 web server hosted on MicroSD Card. The HTML, CSS, JavaScript, image files will be stored on the MicroSD Card.
Hardware Used In This Tutorial
Or you can buy the following kits:
| 1 | × | DIYables ESP32 Starter Kit (ESP32 included) | |
| 1 | × | DIYables Sensor Kit (30 sensors/displays) | |
| 1 | × | DIYables Sensor Kit (18 sensors/displays) |
Introduction to ESP32 and Web Server
If you're not familiar with ESP32 and Web Server, MicroSD Card (including pinout, how it works, and programming), you can learn about them through the following tutorials:
Wiring Diagram
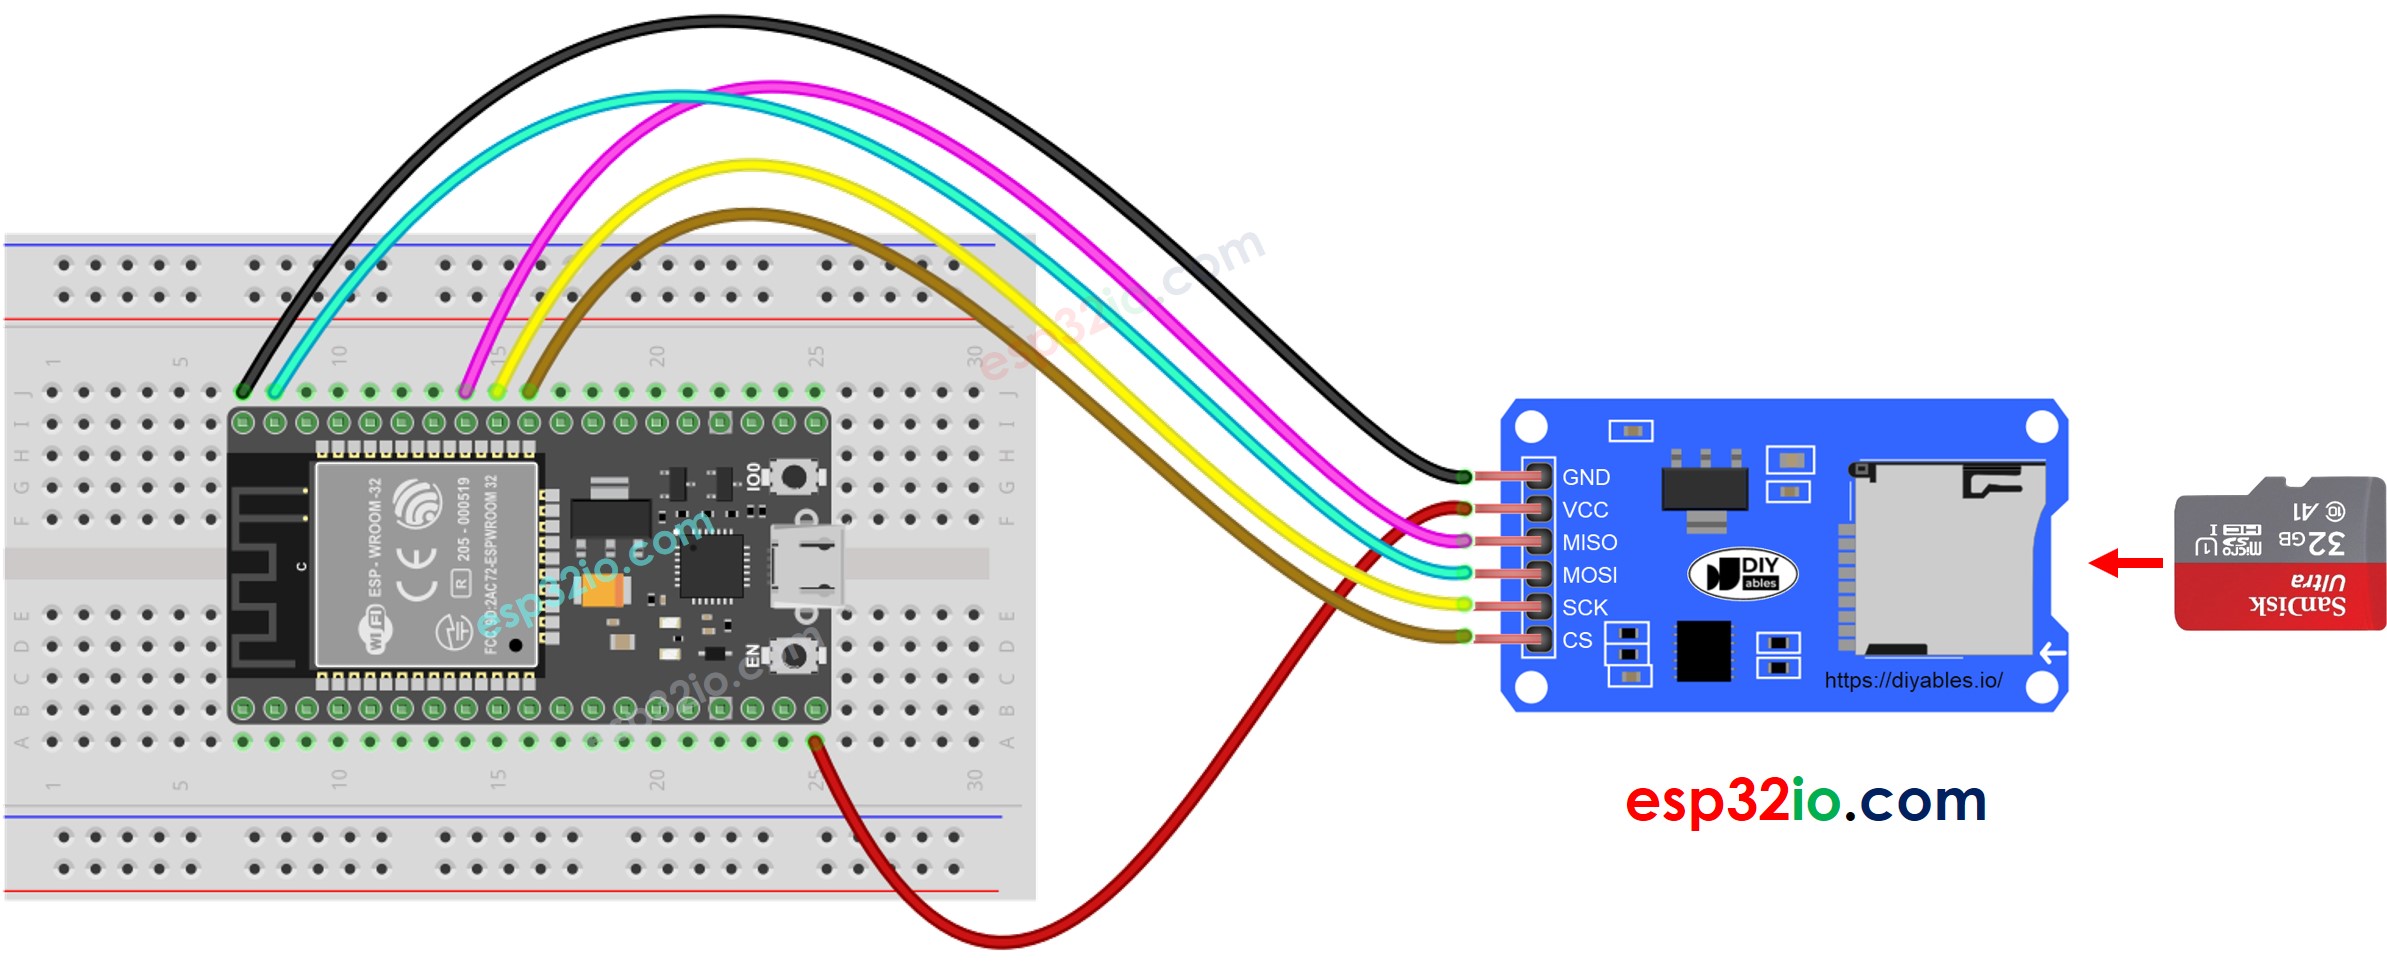
This image is created using Fritzing. Click to enlarge image
If you're unfamiliar with how to supply power to the ESP32 and other components, you can find guidance in the following tutorial: The best way to Power ESP32 and sensors/displays.
Copy HTML contents to MicroSD Card
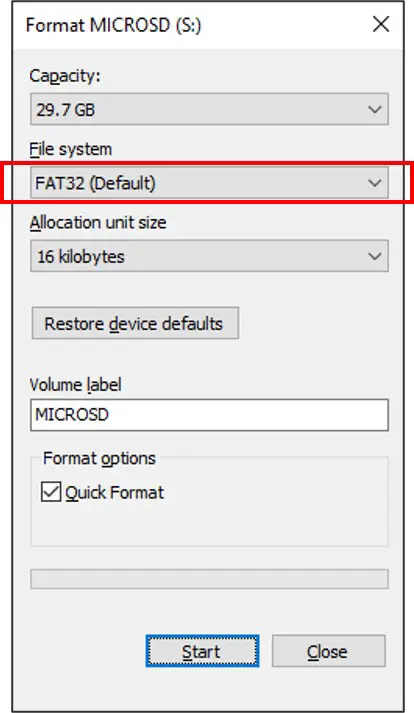
- Please make sure that your Micro SD Card is formated on FAT32 format as below (on Windows OS, right mouse click → format):
- Create a HTML file index.html and add the following code:
- Create a CSS file styles.css and add the following code:
- Prepare an image. This tutorial uses luffy.jpg, which is used in HTML code. You can download this image here:

- (Optional) Prepare favicon image. This tutorial uses this favicon.ico
- Put all files in the root directory of MicroSD Card, like below images:
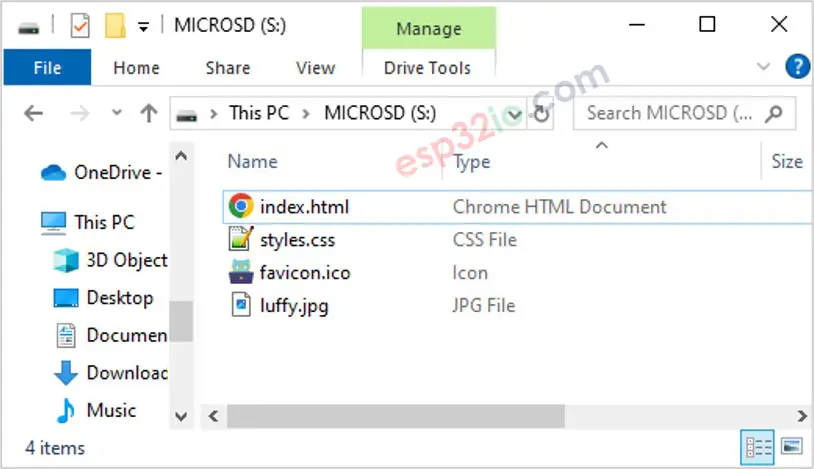
Please note that you can add other files such as JavaScript, txt, csv...
ESP32 Code - Web server on MicroSD Card
Quick Instructions
- If this is the first time you use ESP32, see how to setup environment for ESP32 on Arduino IDE.
- Connect the ESP32 board to your PC via a micro USB cable
- Open Arduino IDE on your PC.
- Select the right ESP32 board (e.g. ESP32 Dev Module) and COM port.
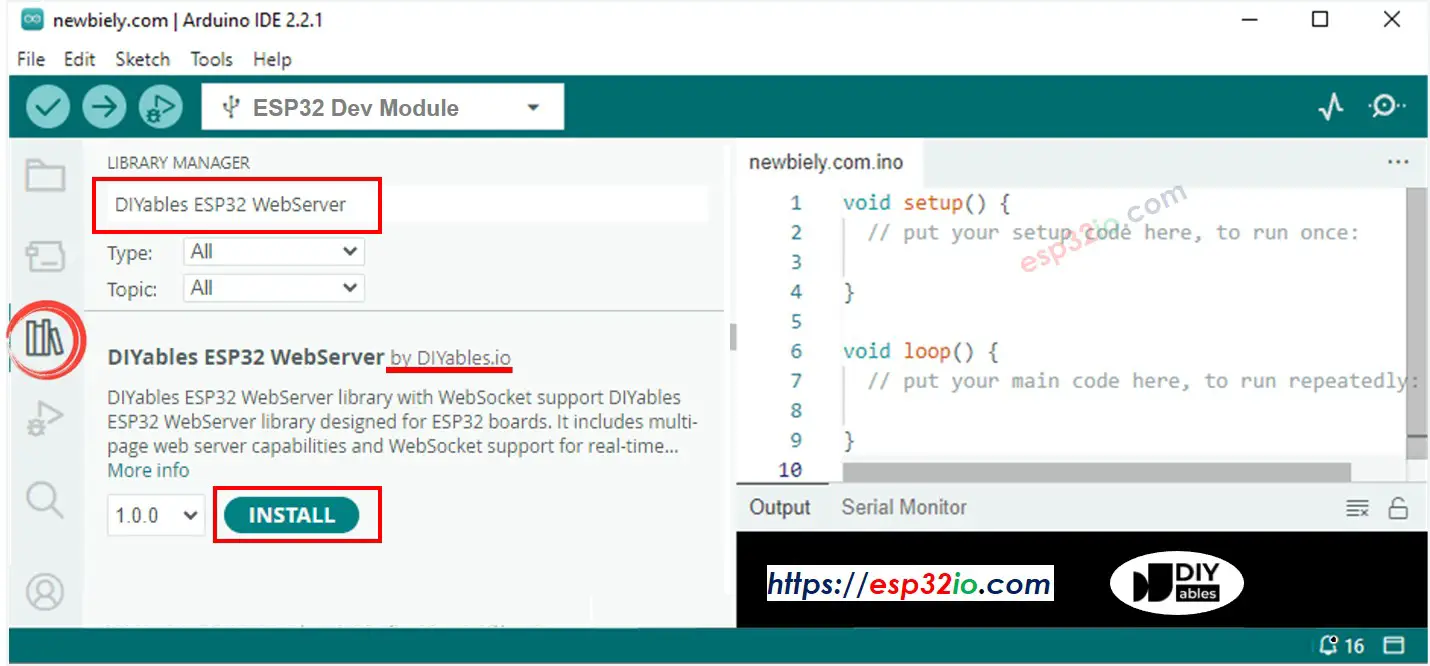
- Open the Library Manager by clicking on the Library Manager icon on the left navigation bar of Arduino IDE.
- Search “DIYables ESP32 WebServer”, then find the Web Server library created by DIYables.
- Click Install button to install the Web Server library.
- Copy the above code and open with Arduino IDE
- Change the wifi information (SSID and password) in the code to yours
- Click Upload button on Arduino IDE to upload code to ESP32
- Open the Serial Monitor
- Check out the result on Serial Monitor.
- You will see an IP address on the Serial Monitor, for example: 192.168.0.3
- Type the IP address on the address bar of a web browser on your smartphone or PC.
- Please note that you need to change the 192.168.0.3 to the IP address you got on Serial Monitor.
- You will see a page loads HTML, CSS, images from SD Card
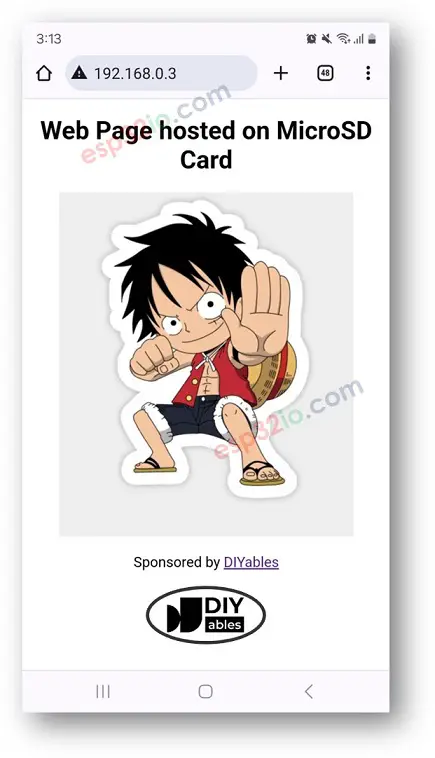
- As you can see, the HTML, CSS, images stored on SD Card were loaded by web browser.
Now you can modify the HTML, CSS code, add more images, JavaScript to make your own web page.
