ESP32 - Water Leak Detector
In this tutorial, we will learn how to use the ESP32 and a water leak sensor to detect water leakage. The water leak detector, also known as a water leak sensor, will help us identify any unwanted water presence.
Hardware Used In This Tutorial
Or you can buy the following kits:
| 1 | × | DIYables ESP32 Starter Kit (ESP32 included) | |
| 1 | × | DIYables Sensor Kit (18 sensors/displays) |
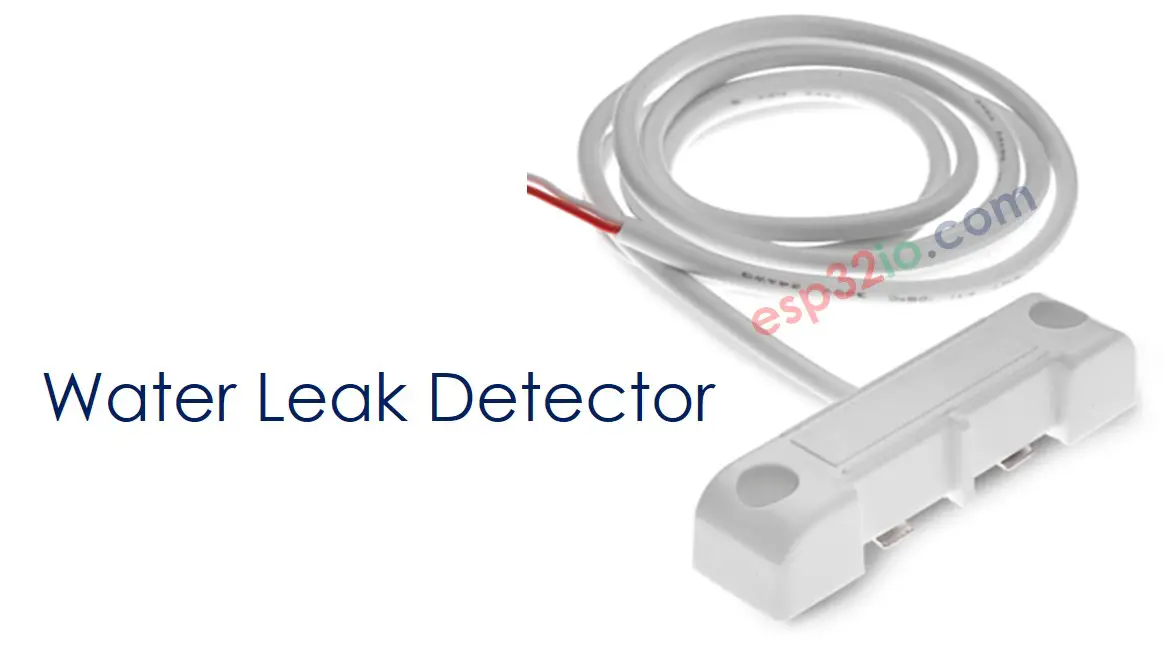
Introduction to Water Leak Detector
The water leak detector, also referred to as a water leak sensor, will assist us in identifying any unwanted water presence, ensuring early detection and preventing potential damage.
Water Leak Detector Pinout
The water leak detector has two wires:
Similar to the switch or button, we do not need to distinguish between the two wires of the water leak detector.
How the Water Leak Detector Works
When water is present, the circuit closes. When water is not present, the circuit remains open.
To use the water leak detector with an ESP32, connect one wire to GND and the other wire to an ESP32 input pin set as a digital input pull-up. When water is present, the ESP32 pin will read a LOW value. When there is no water, the ESP32 pin will read a HIGH value.
※ NOTE THAT:
The water leak detector does not work with "non-conductive" water, such as pure water. However, we can make it work by sprinkling some salt around the sensor location. The water will absorb the salt, which will ionize the pure water and make it conductive.
Wiring Diagram between Water Leak Detector and ESP32

This image is created using Fritzing. Click to enlarge image
If you're unfamiliar with how to supply power to the ESP32 and other components, you can find guidance in the following tutorial: The best way to Power ESP32 and sensors/displays.
How To Program ESP32 to read value from Water Leak Detector
- Initializes the ESP32 pin to the digital input mode by using pinMode() function. For example, pin GPIO19
- Reads the state of the ESP32 pin by using digitalRead() function.
ESP32 Code - Detecting Water Leakage
Quick Instructions
- If this is the first time you use ESP32, see how to setup environment for ESP32 on Arduino IDE.
- Copy the above code and paste it to Arduino IDE.
- Compile and upload code to ESP32 board by clicking Upload button on Arduino IDE
- Pour some water around the water leak detector.
- See the result on Serial Monitor. It looks like the below:.
Video Tutorial
Making video is a time-consuming work. If the video tutorial is necessary for your learning, please let us know by subscribing to our YouTube channel , If the demand for video is high, we will make the video tutorial.