ESP32 - IFTTT
This tutorial instructs you on how to use ESP32 with IFTTT. The below main contents will be presented:
- What is the IFTTT?
- How to use ESP32 to interact with IFTTT, and vice versa
- How to use ESP32 to trigger or send data to other services (e.g. email, SMS, VoIP call) via IFTTT
- How to remotely control ESP32 from other services (e.g. Alexa, Siri, Google Assistant ...) via IFTTT
Hardware Used In This Tutorial
Or you can buy the following kits:
| 1 | × | DIYables ESP32 Starter Kit (ESP32 included) | |
| 1 | × | DIYables Sensor Kit (18 sensors/displays) |
What is IFTTT?
IFTTT is a free web service that connects different services (e.g. Twitter, Facebook, Weather Service, Email ...) together. For example:
- IFFTT can help you automatically save images that you post on Facebook to Dropbox.
- IFFTT can help you automatically send an Email if it rains tomorrow.
IFTTT stands for If This Then That. It means if a service is triggered, other IFTTT service take the action
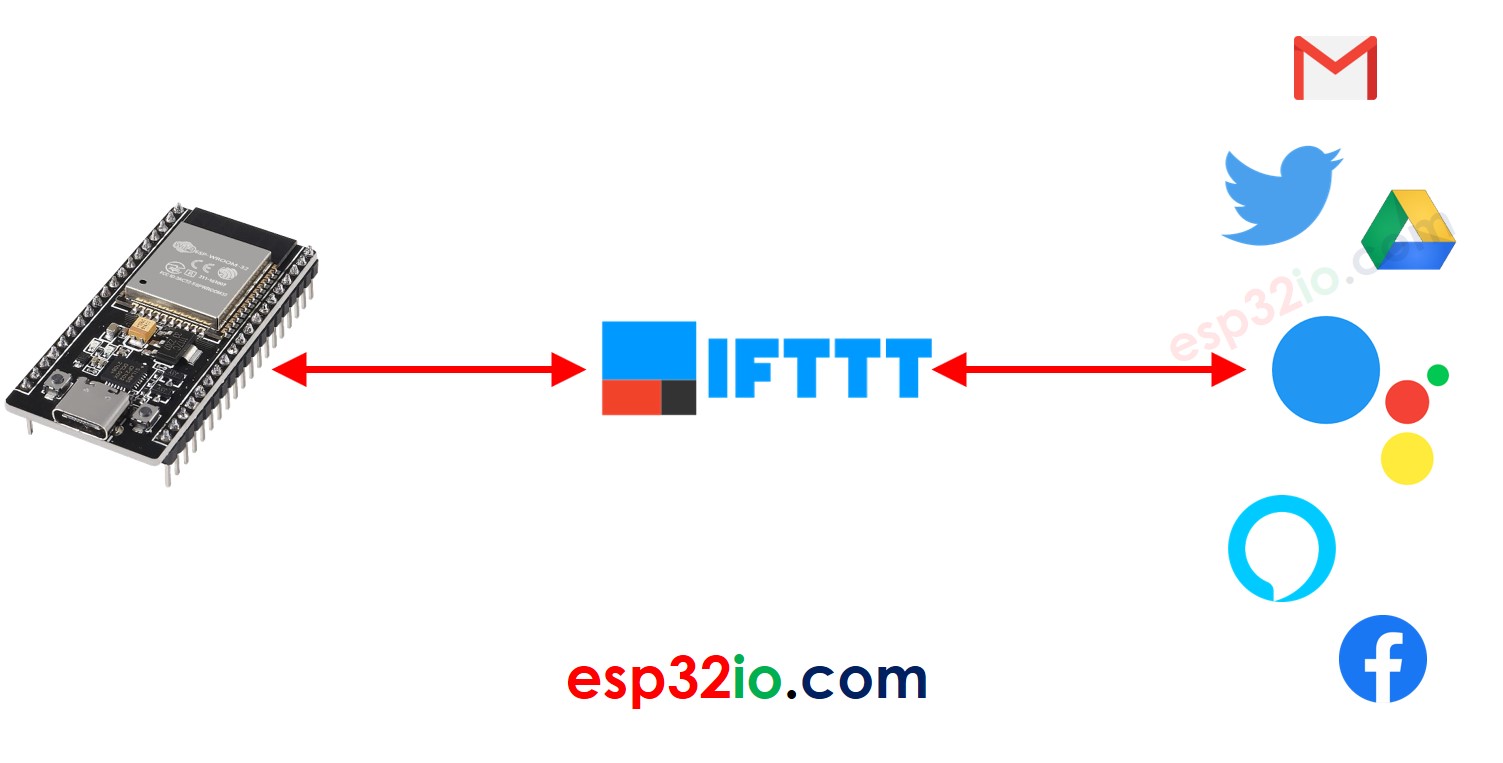
From ESP32's point of view, IFTTT is a bridge between ESP32 and other services. With IFTTT, ESP32 can do some difficult things easily. For example:
- ESP32 sends the notification to the smartphone
- ESP32 sends the email, the SMS message
- Google Assistant, Alexa controls ESP32
- Scheduling for ESP32 via Google Calendar
When you learn about IFTTT, you need to know four important terms on IFTTT: Applet, service, trigger, and action.
- IFTTT comprises Applets.
- The Applet typically comprises two IFTTT services (e.g. Evernote, Facebook, Weather Service, Email...):
- One service is called a trigger
- One service is called an action
- ⇒ When something happens on the trigger, the action is taken
- Some service can be the trigger. Some service can be the action. Some service can be both trigger and action:
An Applet can be created:
- by IFTTT company: To use this kind of Applet, You just need to enable it
- by the third party: To use this kind of Applet, You just need to enable it
- by yourself: To use this kind of Applet, You need to create your own Applet first, and then enable it.
To use IFTTT Applet with ESP32, you need to create an Applet by yourself. Don't worry, it is very easy.
The Applet created by yourself for ESP32 is composed of:
- Webhooks service: this service interacts directly with ESP32
- Another service: any service that you want to use (e.g. Twitter, Facebook, Weather Service, Email ...)
There are two use cases:
- ESP32 triggers IFTTT: ESP32 triggers IFTTT to do something. For example, ESP32 triggers IFTTT to send email
- IFTTT triggers ESP32: A outside service triggers IFTTT, and then IFTTT triggers ESP32 to do something. For example, Alexa tells ESP32 to turn on the light
We will learn both cases one by one.
How ESP32 triggers IFTTT
We need to create an IFTTT Applet that:
- The Webhooks service acts as a trigger
- The other service (e.g. Email) acts as a action
After creating an IFTTT Applet for ESP32:
- ESP32 interacts with the Webhooks service in IFTTT by making HTTP/HTTPS request to the Webhooks service.
- The Webhooks service automatically triggers other service in IFTTT
- The other service in IFTTT takes action (e.g. send email)
How to make ESP32 trigger IFTTT
- Create an IFTTT account
- Login to IFTTT
- Create an Applet, which connect Webhooks to a desired service (e.g Email, Twitter, VoIP ...)
- Go to Webhooks's document page to get the Webhooks key.
- Write ESP32 code to make HTTP (POST or GET) request to Webhooks.
To learn how to make HTTP request using ESP32.
What we need to include in the HTTP request
- Webhooks key: given by IFTTT. It is a unique and secret key to identifying your Webhooks. You can find this key by logging into the IFTTT website
- Event name: given by yourself when you create the applet. It is the name to identify the event.
- (Optional) Data: ESP32 can include the data to HTTP request sent to IFTTT
Webhooks key and event name are parts of URL. Data is optional and is included in the query string. The IFTTT Webhook allows a query string has up to 3 variables with the fixed names: value1, value2, value3.
The HTTP GET request URL formats:
- The trigger without data:
- The trigger with one variable:
- The trigger with two variables:
- The trigger with three variables:
Replace EVENT_NAME and YOUR_KEY in the above formats.
How to send data from ESP32 to IFTTT
To send data from ESP32 to other IFTTT service (e.g. Email, facebook), we need to do:
- In ESP32: Include data into HTTP request
- In Applet: modify the setting to extract data from the HTTP request.
The workflow:
- ESP32 makes an HTTP/HTTPS request to IFTTT Webhooks service
- Webhooks service extracts the data from the HTTP request
- Webhooks service triggers another IFTTT service and including data to the trigger.
- Another service takes the action
There are five variables that can be specified in the Webhooks's configuration when creating the Applet:
| {{EventName}} | When specified this variable, the data will be extracted from HTTP request |
|---|---|
| {{OccurredAt}} | When specified this variable, the data will be the IFTTT system time |
| {{Value1}} | When specified this variable, the data will be extracted from the variable value1 in the query string in HTTP request |
| {{Value2}} | When specified this variable, the data will be extracted from the variable value2 in the query string in HTTP request |
| {{Value3}} | When specified this variable, the data will be extracted from the variable value3 in the query string in HTTP request |
The detailed instruction will be presented in specific tutorials.
Example Code
The instruction and example code of ESP32 that sends data to other IFTTT service are available in the below tutorials:
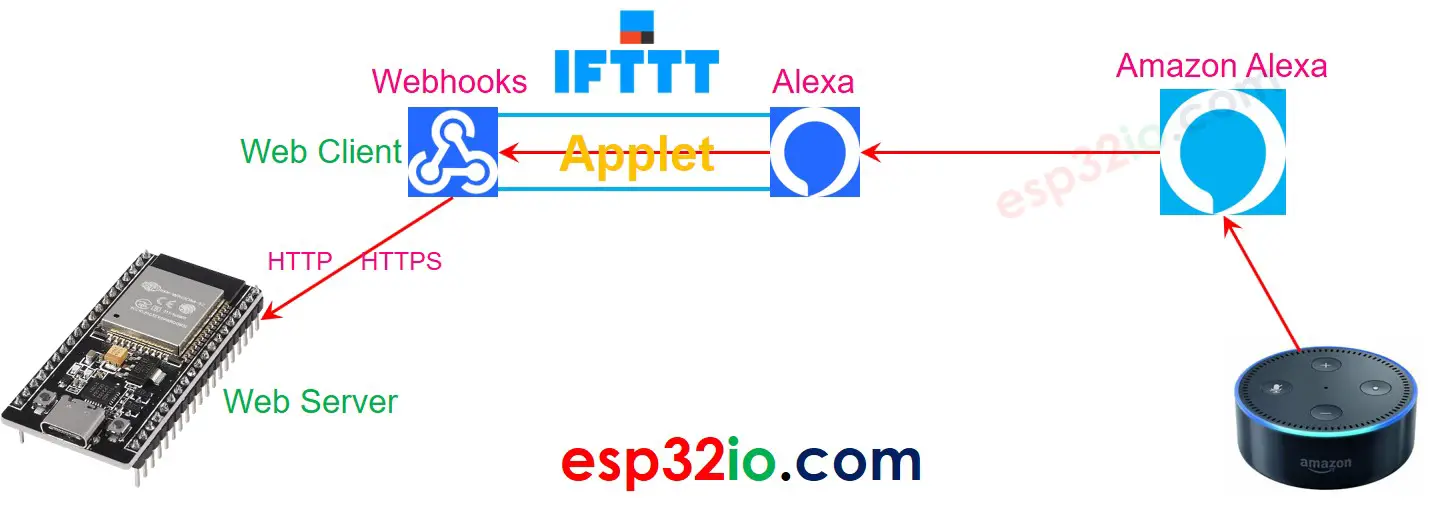
How IFTTT triggers ESP32
- An outside service triggers a IFTTT service
- The IFTTT service automatically triggers the Webhooks service
- The Webhooks service automatically makes HTTP/HTTPS request to ESP32. In this case, ESP32 must works as a web server to handle the request from IFTTT Webhooks service
The below is an example of how ESP32 interacts with Amazon Echo dot.
How To make IFTTT trigger ESP32
- Login to The IFTTT
- Create an Applet, which connect a service (e.g Google Assistant, Amazon Alexa, Google Calendar ...) to the Webhooks service:
- The other service is the trigger
- The Webhooks service is the action
- Write ESP32 code to handle HTTP requests from Webhooks.
When creating the Applet with Webhooks service is a trigger, The Webhook requires to input the ESP32's IP address it's setting. When an event is triggered, IFTTT makes an HTTP request to ESP32 via the inputted IP address.
The detailed instruction will be presented in specific tutorials.
Example Code
The instruction and example code of that IFTT triggers ESP32 are available in the below tutorials: