ESP32 - Button - LED
This tutorial instructs you how to use ESP32 to control LED based on the pressing state of button. In detail:
- If a button is being pressed, ESP32 turns LED on
- If a button is NOT being pressed, ESP32 turns LED off
We also have another tutorial: ESP32 - Button Toggles LED, which toggle LED state between ON and OFF when the button is pressed.
This tutorial shows how to program the ESP32 using the Arduino language (C/C++) via the Arduino IDE. If you’d like to learn how to program the ESP32 with MicroPython, visit this ESP32 MicroPython - Button - LED tutorial.
Hardware Used In This Tutorial
Or you can buy the following kits:
| 1 | × | DIYables ESP32 Starter Kit (ESP32 included) | |
| 1 | × | DIYables Sensor Kit (30 sensors/displays) | |
| 1 | × | DIYables Sensor Kit (18 sensors/displays) |
Buy Note: Want to make wiring easier? Try the LED Module. It already has a built-in resistor, so no extra parts needed!
ESP32 Code
Quick Instructions
- If this is the first time you use ESP32, see how to setup environment for ESP32 on Arduino IDE.
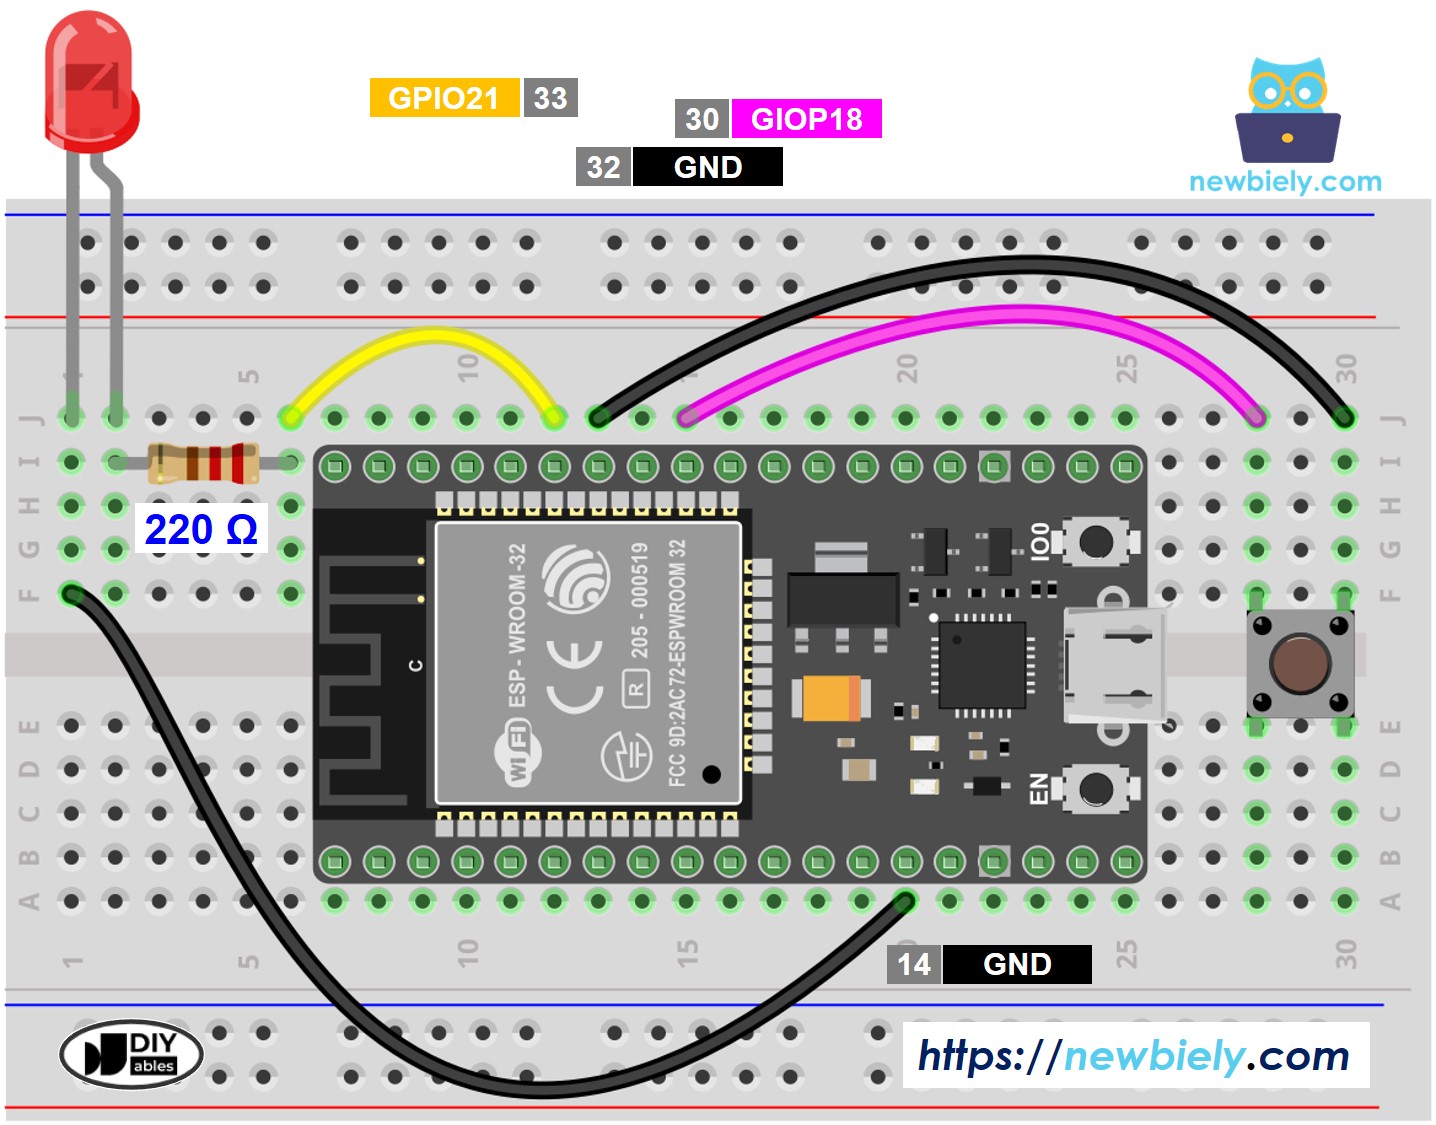
- Do the wiring as above image.
- Connect the ESP32 board to your PC via a micro USB cable
- Open Arduino IDE on your PC.
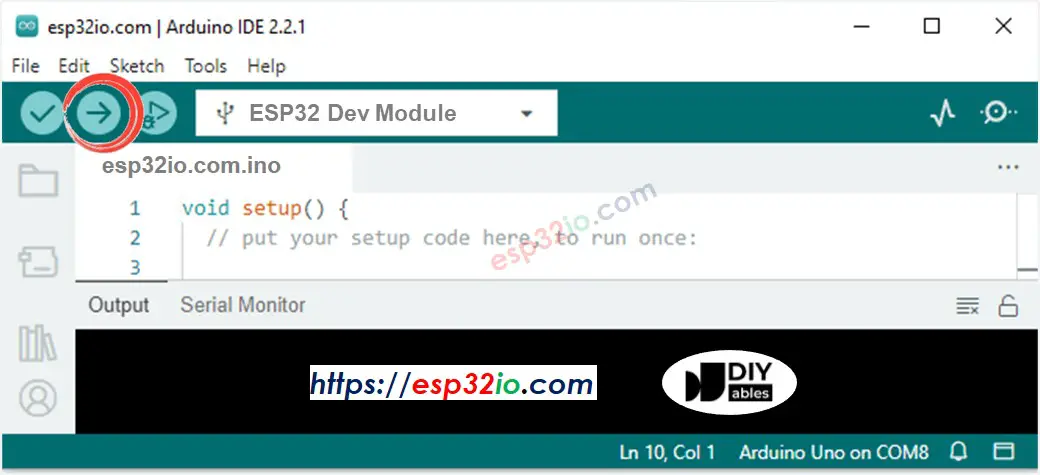
- Select the right ESP32 board (e.g. ESP32 Dev Module) and COM port.
- Copy the above code and paste it to Arduino IDE.
- Compile and upload code to ESP32 board by clicking Upload button on Arduino IDE

- Press and keep pressing the button several seconds
- See the change on LED's state
Line-by-line Code Explanation
The above ESP32 code contains line-by-line explanation. Please read the comments in the code!
Video Tutorial
Making video is a time-consuming work. If the video tutorial is necessary for your learning, please let us know by subscribing to our YouTube channel , If the demand for video is high, we will make the video tutorial.

