DIYables ESP32 Web Server Example
WebServer Example - Multi-Page Web Server
Overview
This example demonstrates how to create a multi-page web server on ESP32 with multiple interconnected pages for home, temperature monitoring, and LED control.
Features
- Multi-page navigation with seamless page transitions
- Home page with navigation menu and system information
- Temperature monitoring page with real-time temperature display and refresh capability
- LED control page with ON/OFF toggle functionality
- Template-based HTML with dynamic content replacement
- Helper functions for clean, maintainable code
Hardware Used In This Tutorial
Or you can buy the following kits:
| 1 | × | DIYables ESP32 Starter Kit (ESP32 included) | |
| 1 | × | DIYables Sensor Kit (18 sensors/displays) |
Library Installation
Follow these instructions step by step:
- If this is your first time using the ESP32, refer to the tutorial on setting up the environment for ESP32 in the Arduino IDE.
- Connect the ESP32 board to your computer using a USB cable.
- Launch the Arduino IDE on your computer.
- Select the appropriate ESP32 board (e.g., ESP32) and COM port.
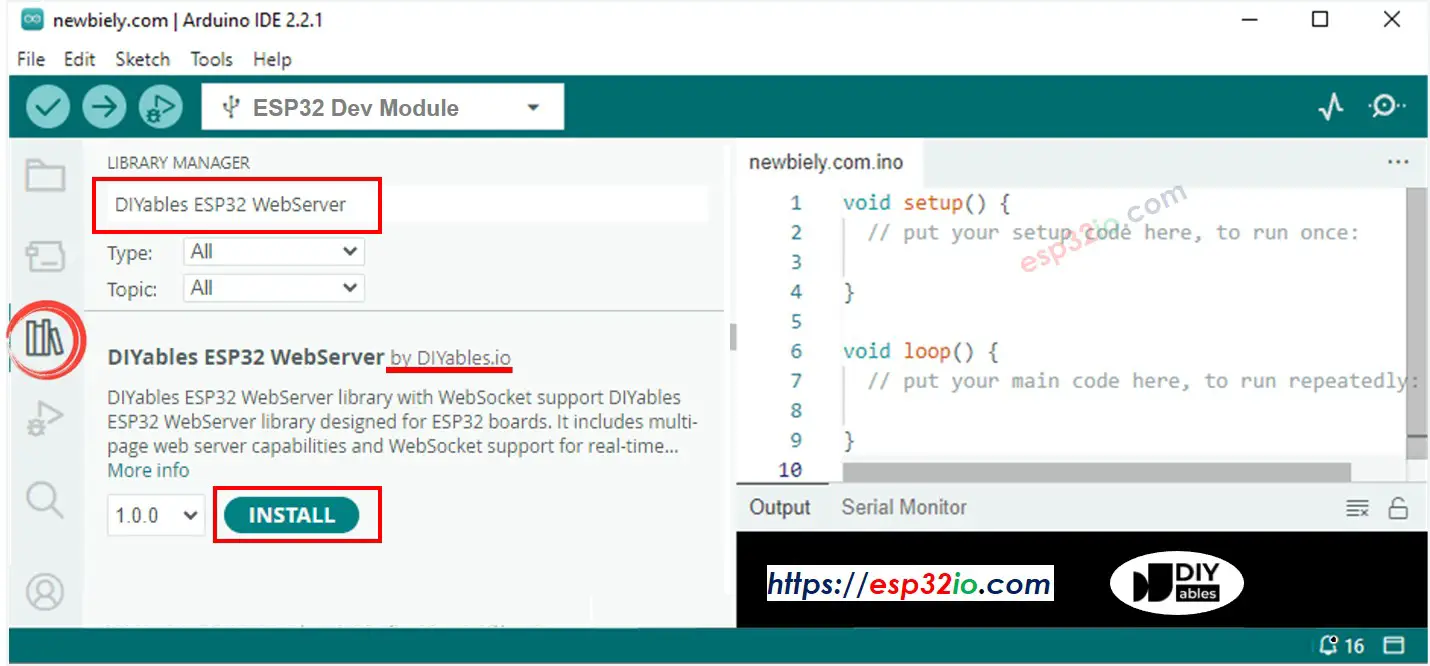
- Open the Library Manager by clicking on the Library Manager icon on the left side of the Arduino IDE.
- Search for Web Server for ESP32 and locate the mWebSockets by DIYables.
- Click on the Install button to add the mWebSockets library.
Web Server Example
- On Arduino IDE, Go to File Examples Web Server for ESP32 WebServer example to open the example code
Circuit Connection
No external components required - this example uses the built-in LED on pin 13.
Code Structure
- home.h: Home page HTML template
- temperature.h: Temperature monitoring page template
- led.h: LED control page template
- WebServer.ino: Main server logic
Setup Instructions
1. Network Configuration
Edit the WiFi credentials directly in the WebServer.ino file:
2. Upload Code and Monitor Output
- Connect your ESP32 to your computer
- Select the correct board and port in Arduino IDE
- Upload the WebServer.ino sketch
- Open Serial Monitor (9600 baud)
- Wait for WiFi connection
- Note the IP address displayed
- If you do not see IP address in Serial monitor, press the reset button on the ESP32 board
Usage
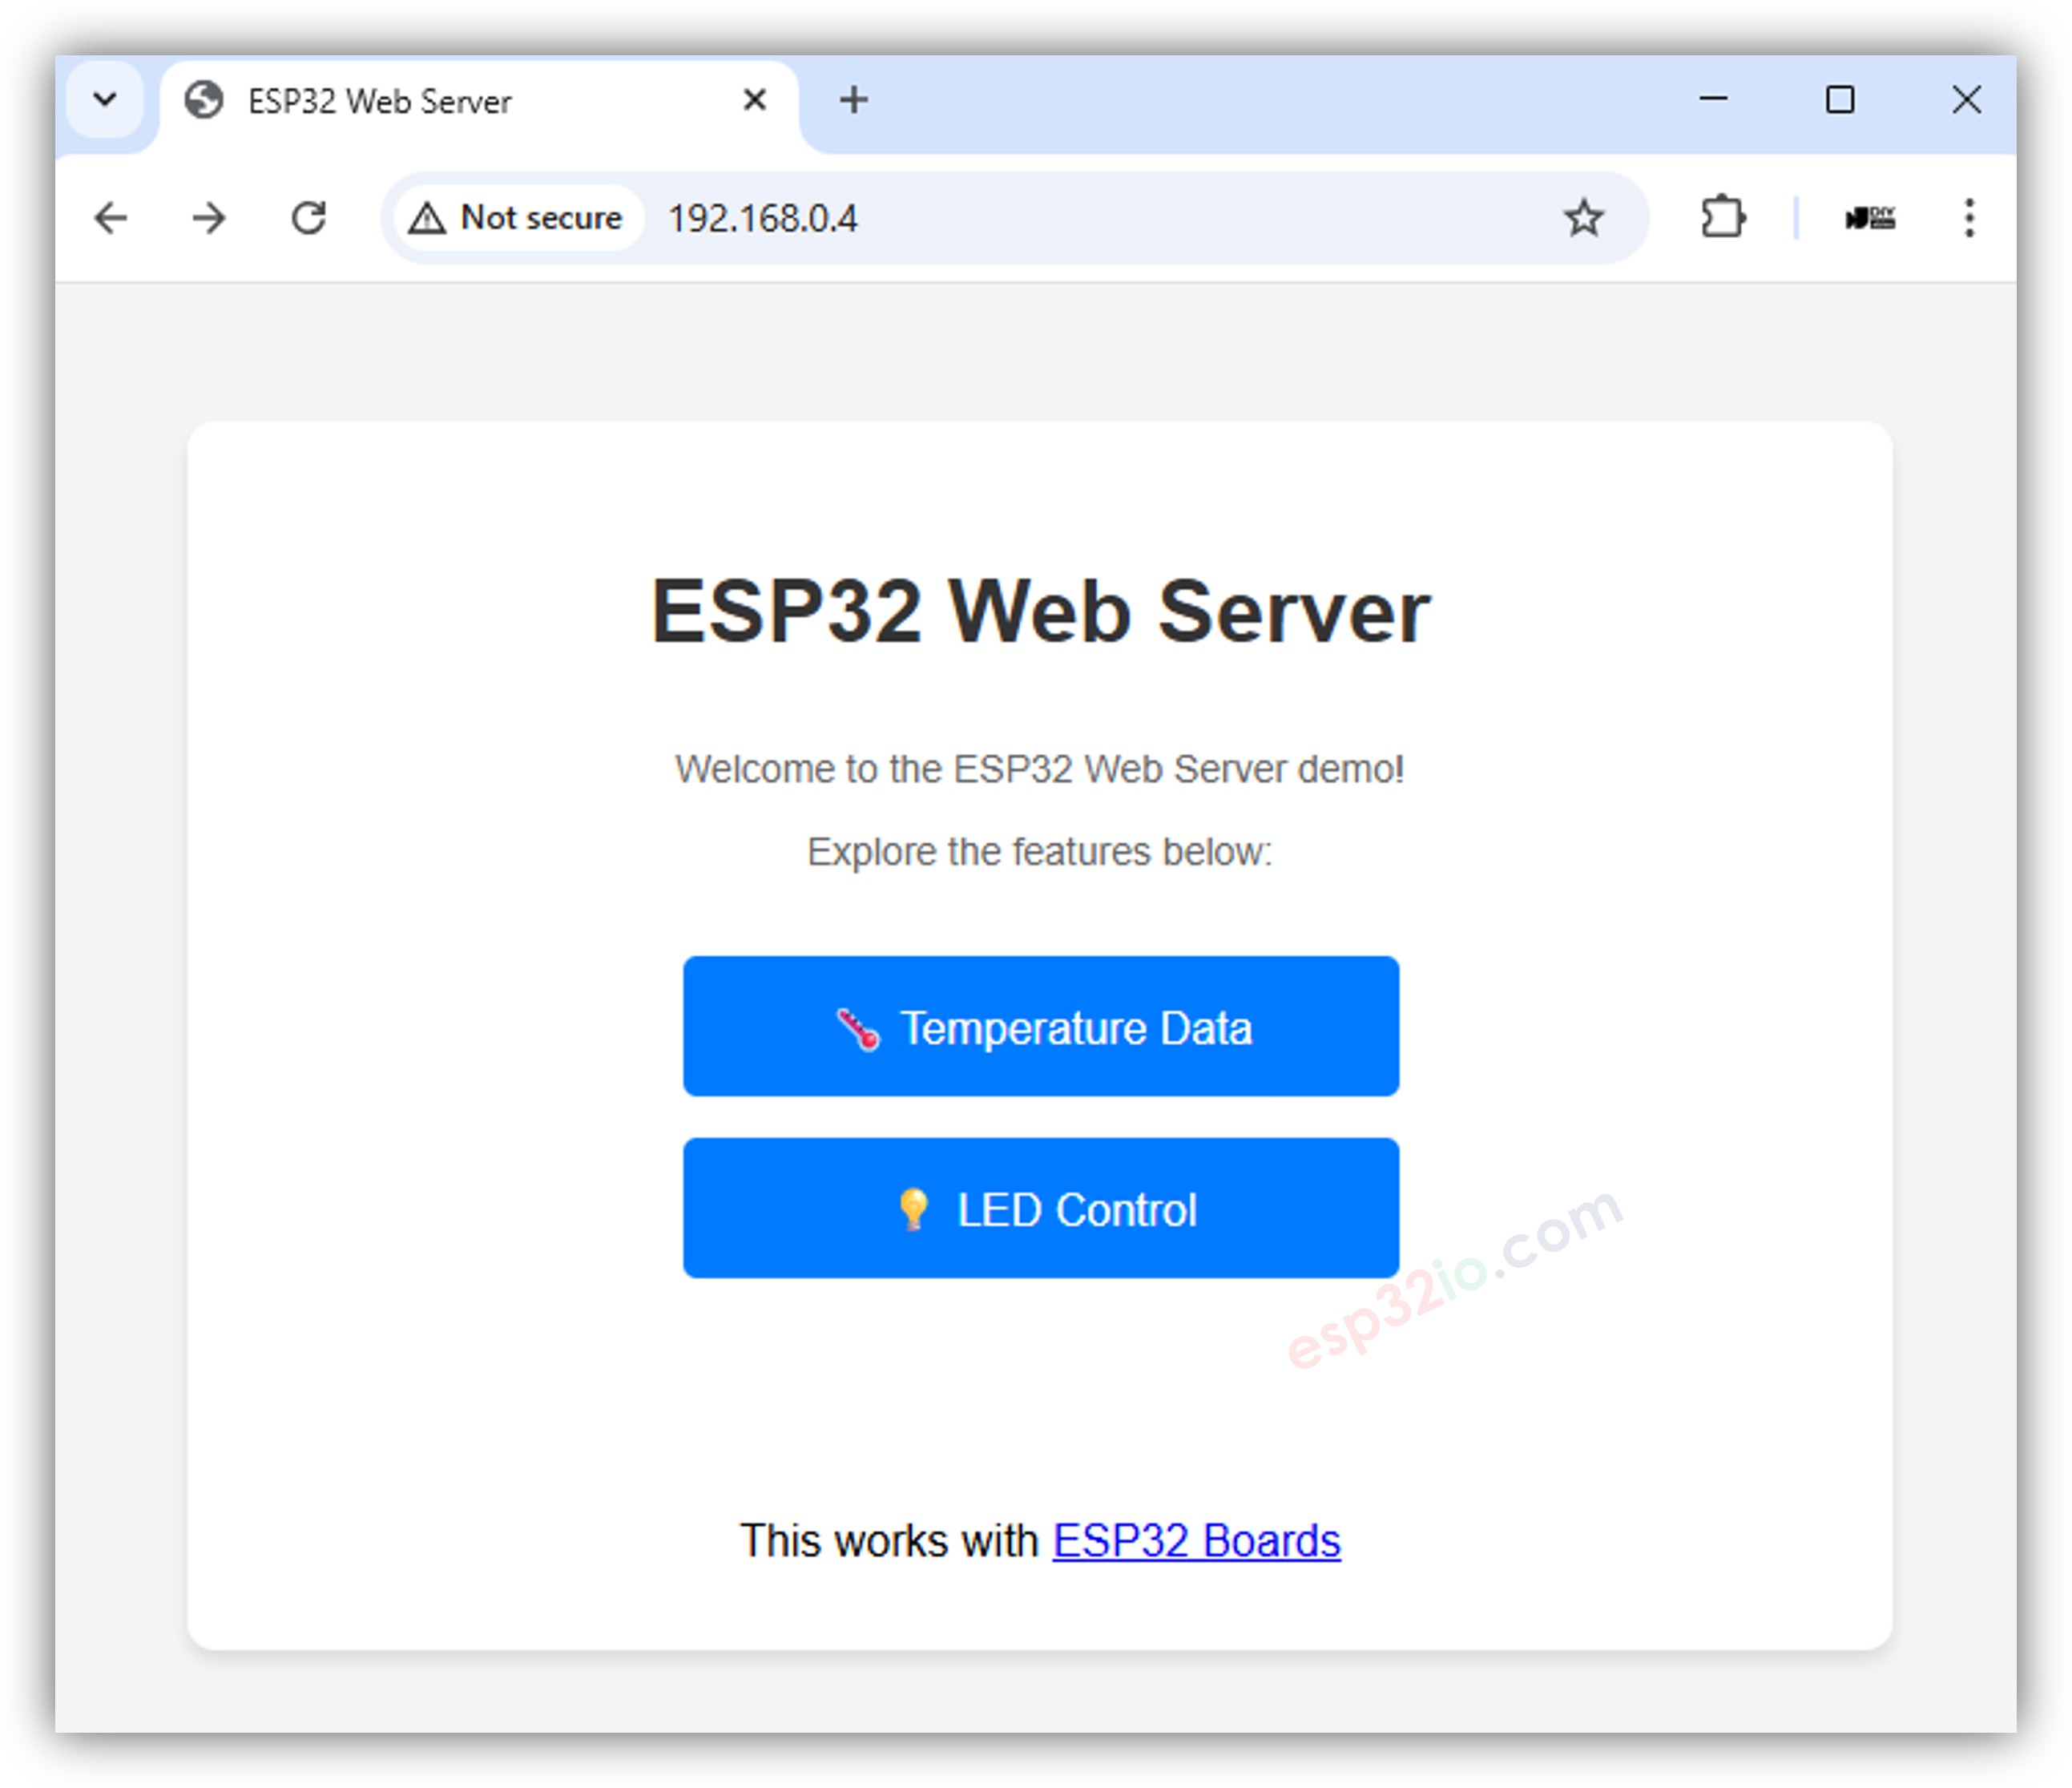
Open your web browser and enter the IP address displayed in the Serial Monitor to access the ESP32 Web Server.
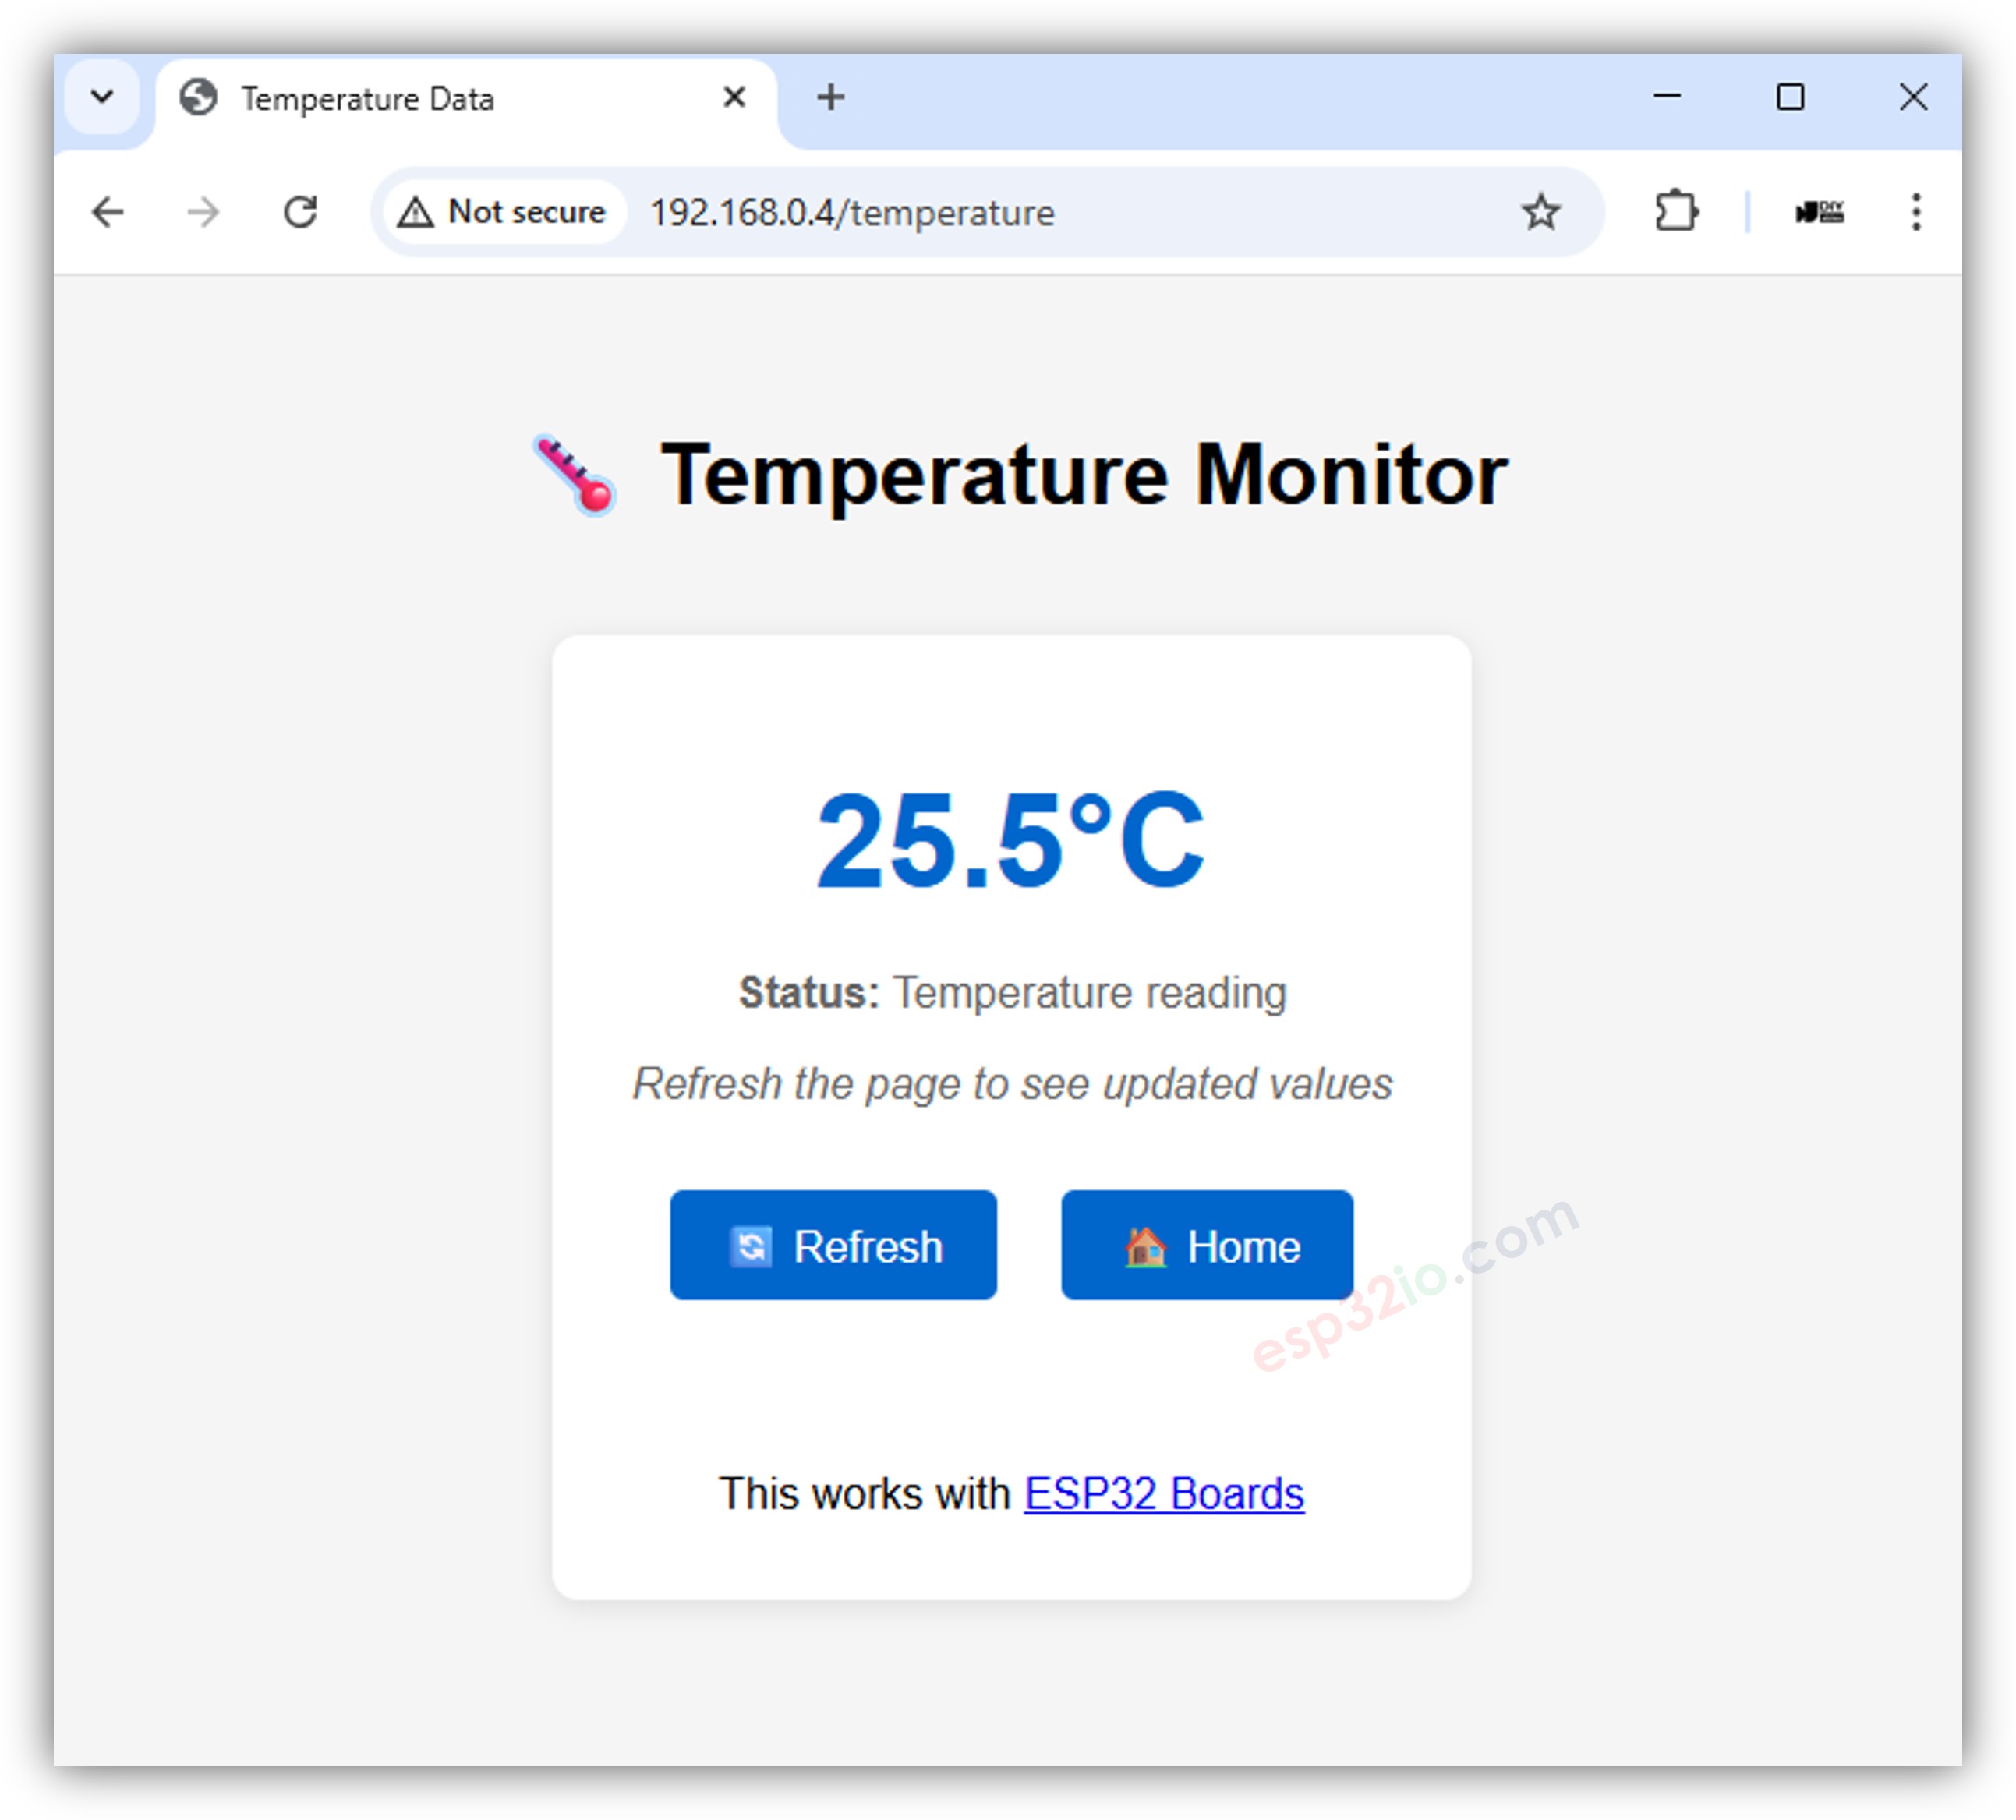
Test the Temperature Monitoring Function:
- Click on the "Temperature" menu.
- View the temperature display.
Test the LED Control Function:
- Click on the "LED Control" menu. You will see the web interface like the below:
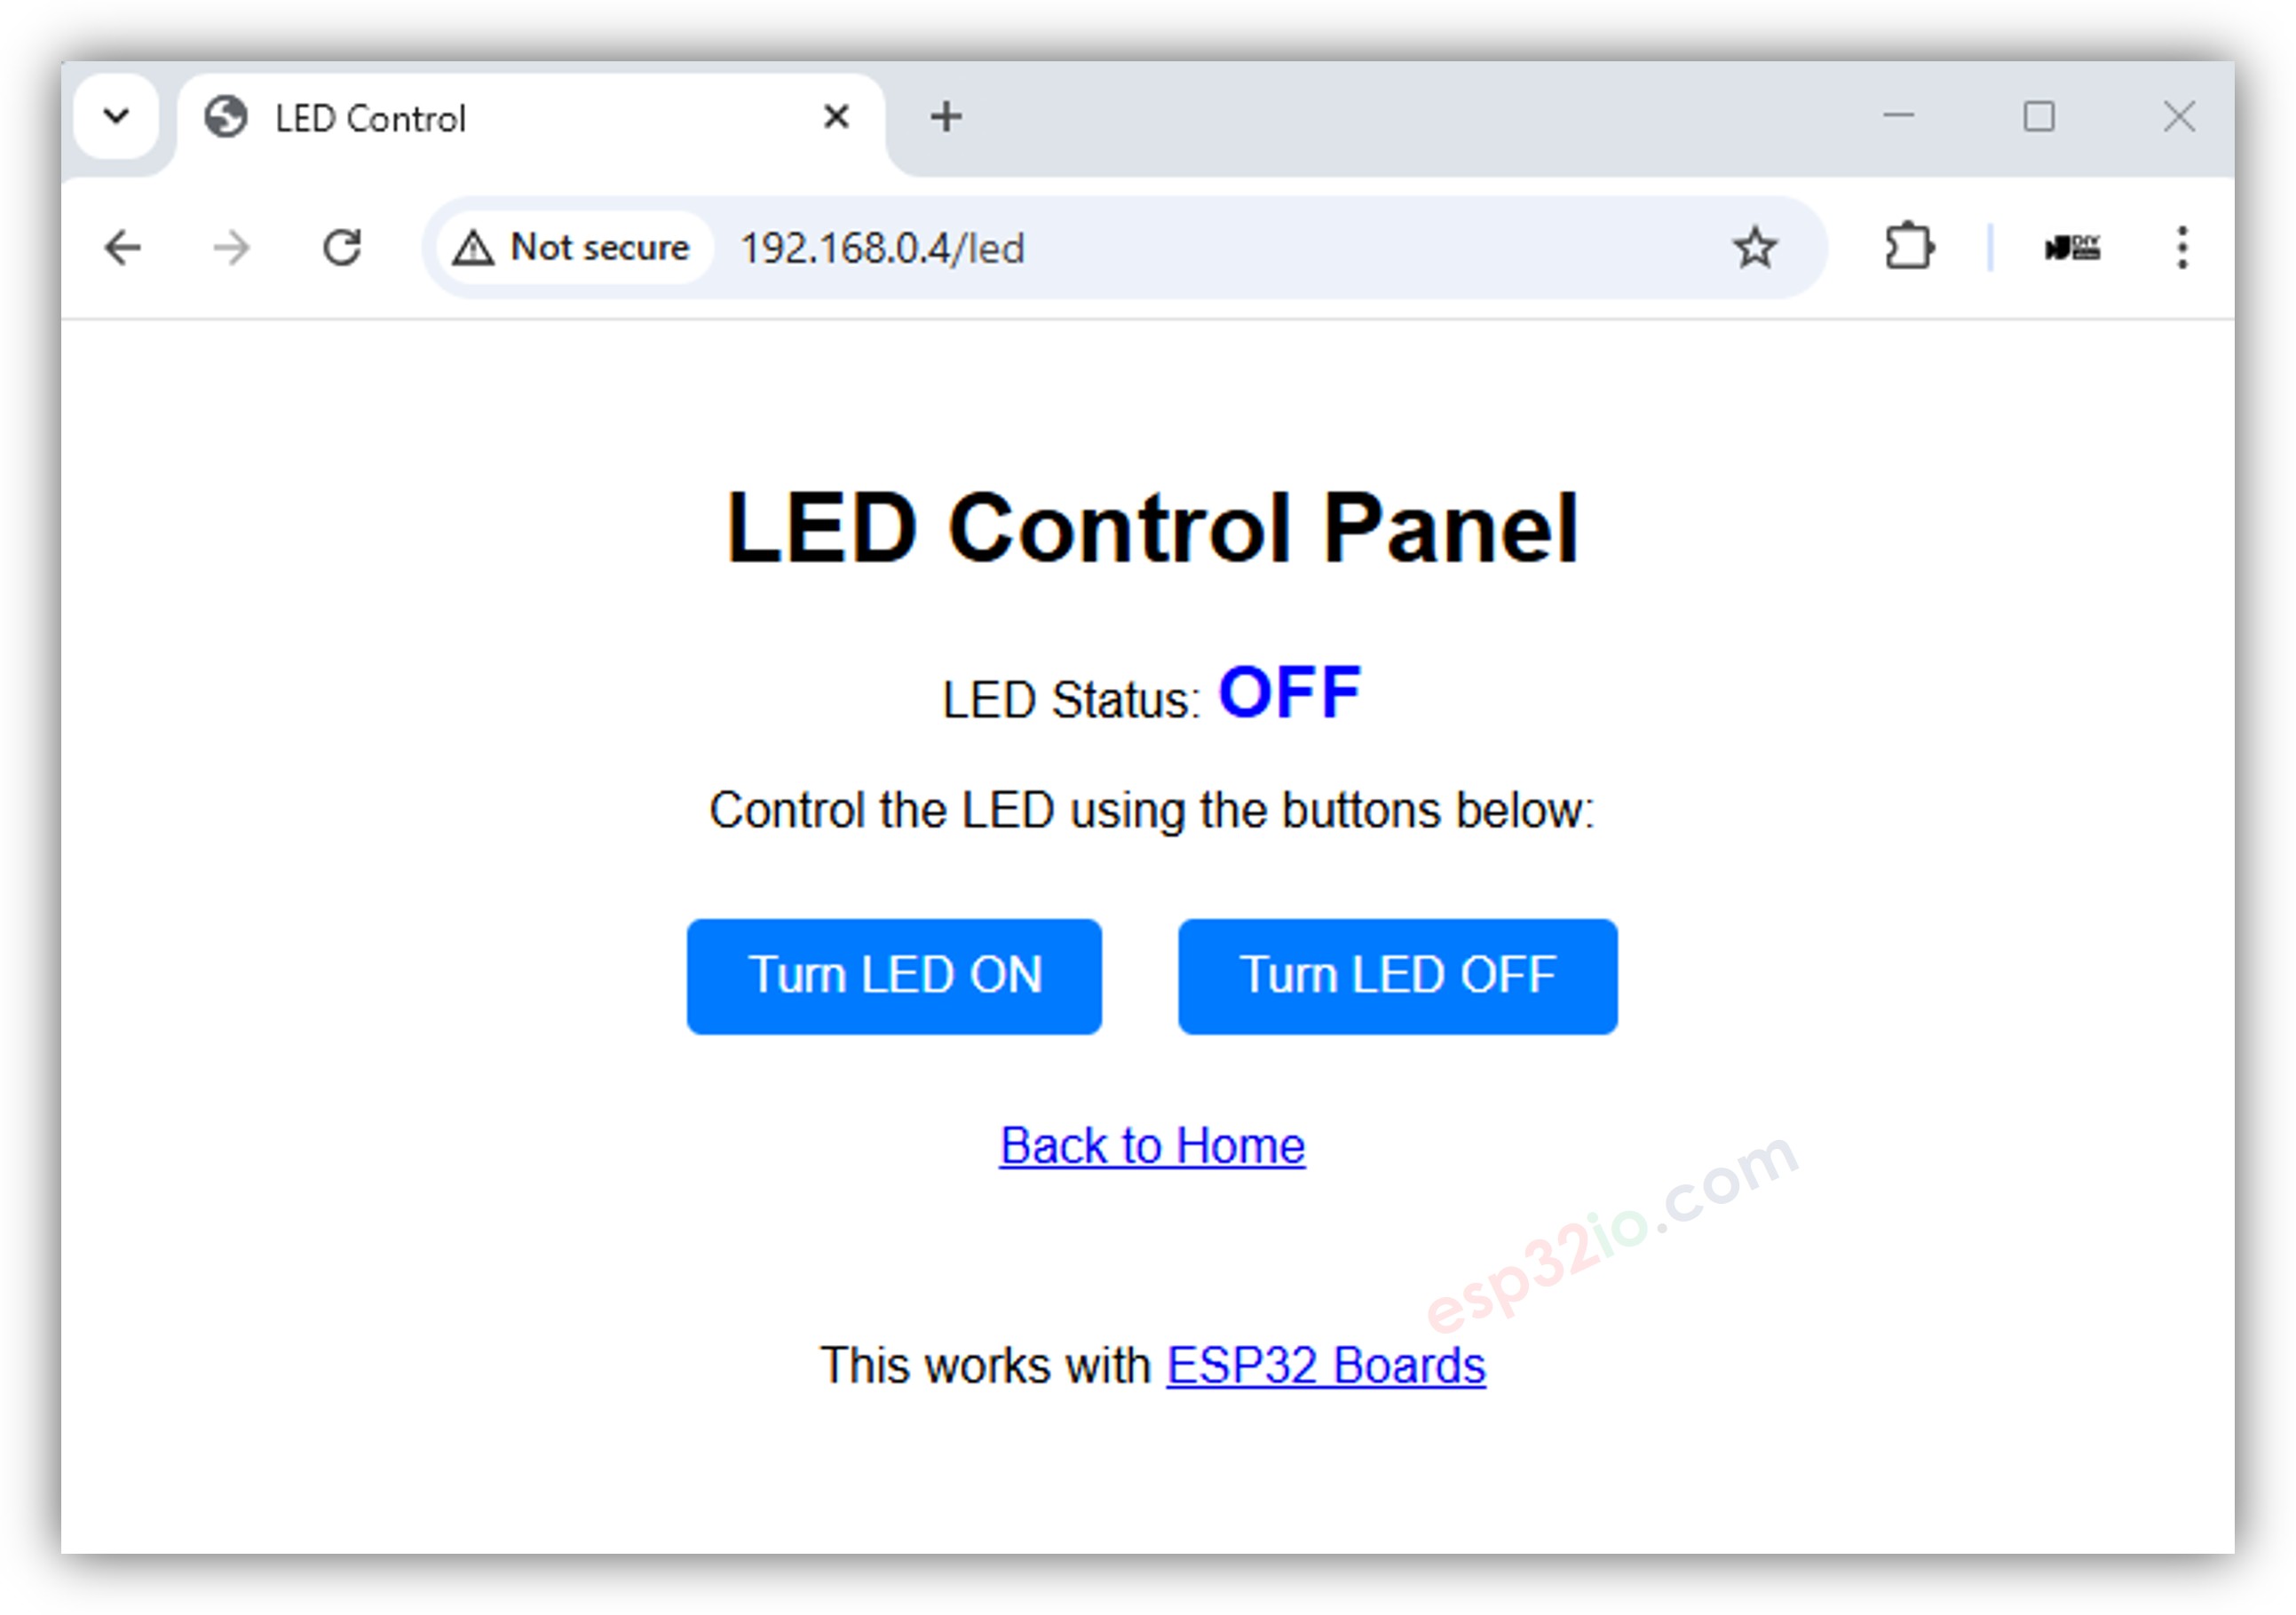
- Toggle the LED ON and OFF using the provided buttons.
- Observe the built-in LED status on the ESP32 board update instantly.
Available Pages
Home Page (`/`)
- URL: http://your-esp32-ip/
- Features:
- Welcome message with system information
- Navigation menu to all pages
- Clean, professional layout
- URL: http://your-esp32-ip/temperature
- Features:
- Real-time temperature display in Celsius
- Auto-refresh every 5 seconds
- Manual refresh button
- Back to home navigation
- URL: http://your-esp32-ip/led
- ON URL: http://your-esp32-ip/led/on
- OFF URL: http://your-esp32-ip/led/off
- Features:
- Current LED status display
- Separate routes for ON and OFF actions
- Immediate status updates after state change
- Back to home navigation
- %TEMP_C%: Replaced with current temperature value in Celsius
- %LED_STATUS%: Replaced with current LED status ("ON" or "OFF")
- Create HTML template in new header file
- Add route handler in main loop
- Update navigation menu in existing pages
- Verify SSID and password in the WebServer.ino file
- Check WiFi network availability
- Ensure ESP32 is within WiFi range
- Check Serial Monitor for IP address
- Verify browser URL matches ESP32's IP Address
- Try refreshing the page
- Confirm LED is connected to pin 13
- Check Serial Monitor for debug messages
- Verify route handlers are registered
- Explore the WebServerJson.ino example for REST API development
- Try WebServerQueryStrings.ino for advanced parameter handling
- Check out WebServerWithWebSocket.ino for real-time communication
Temperature Page (`/temperature`)
LED Control Page (`/led`)
Code Explanation
Server Routes
Template System
The example uses a placeholder replacement system for dynamic content:
Helper Functions
Customization
Adding New Pages
Styling
Modify the CSS in HTML templates to change appearance:
Adding Sensors
Replace the simulated temperature value with real sensor readings:
Troubleshooting
Common Issues
WiFi Connection Failed
Pages Not Loading
LED Not Responding
Debug Output
Enable additional debugging by adding Serial.println() statements: